
The Association of British Health Industries’ surgical instruments working group consists of over 20 companies who have contributed collaboratively to create this document to share expertise and provide insight into considerations relevant to surgical instruments purchasing.
-
Content
- The Purpose Of This Guide Understanding Quality
- Buying The Right Instrument is A Collective Responsibility
- Know Your Standards
- Know Your Materials
- Manufacturing Processes
- Common Features And Terminology For Quality Instruments
- Identifying Common Instrument Features Maintaining High Quality
- A Guide To Reprocessing Re-Usable Surgical Instruments
- Care And Maintenance Tips
- Ethical Supply
The Purpose Of This Guide
This booklet is designed to help healthcare providers achieve the best whole life value for money in their purchasing decisions.
Surgical instruments are a critical component of surgical procedures. It is imported that purchaser are well informed, to ensure patient safety as well as best value.
This Guide is and educational and training tool. It helps improve awareness and understanding of how surgical instruments are made, the standard which apply to them and the quality of the instruments.
By enabling effective procurement, we hope to help healthcare providers achieve the best return on their investment, while putting patients at the heart of decision making.
The Association of British Healthcare Industries (ABHI) is the UKʼs industry association for the medical technology sector. The companies we represent produce around 85% of the industryʼs total UK output.
We promote the rapid adoption of medical technologies in the UK and key global markets to maximise patient outcomes, and support ethical procurement.
“Quality is always top and non-negotiable”
Lord Carter Health and Care Show, July 2016
Understanding Quality
BUYING THE RIGHT INSTRUMENT IS A COLLECTIVE
RESPONSIBILITY
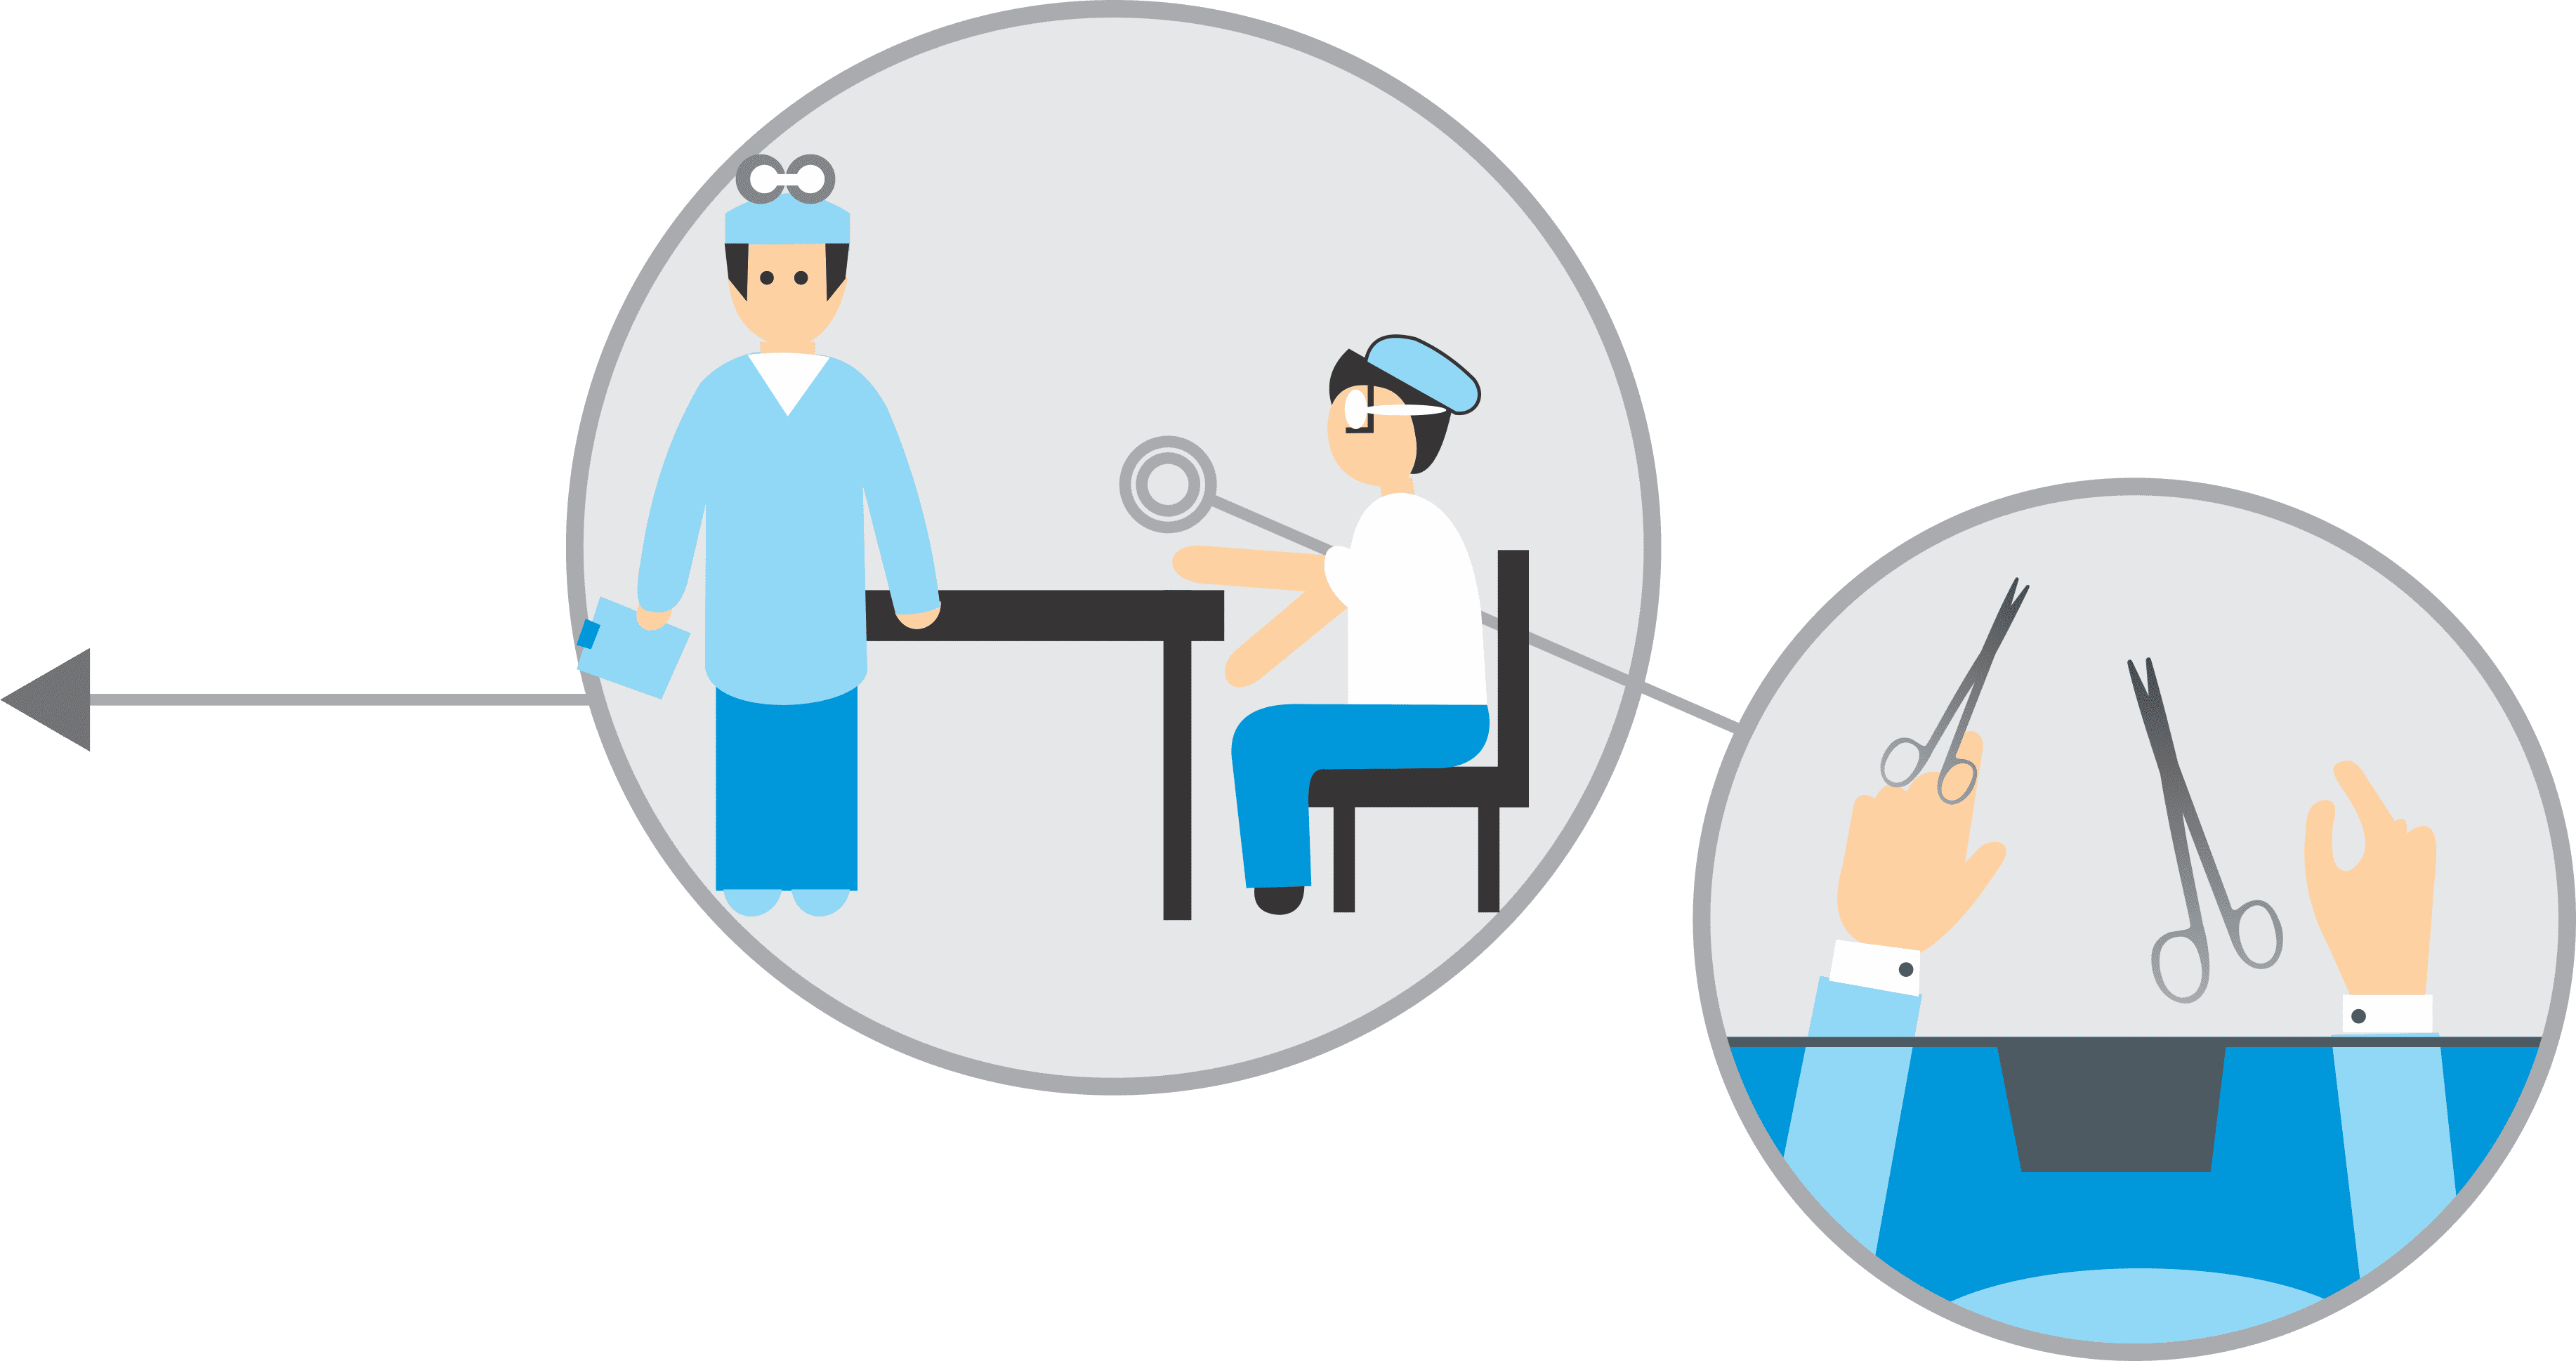
Purchasing Surgical Instruments needs to be a co-ordinated process with input from the appropriate health professionals before and after purchase:
The surgeon, theatre staff, sterilisatio and decontamination teams are all essential to surgical instrument purchasing decisions. Their feedback is critical in making the right decision.
Understanding Quality Know Your Standards
Surgical instruments are governed by a number of standard including, but not limited to:
Medical Devices Directive 93/42/EEC
MDD-this directive includes the essential requirement such as CE marks to be followed by manufacturers
ISO 7153-1:2001 BS 51994-1:1991
The Standard for the composition of the different materials and steel grades used.
BS 5194-1:1985
For the specifications of scissors, shears, and other cutting instruments.
ISO 13485
Requirements for a quality management system, where and organisation needs to dmonstrate its ability to provide medical devices.
BS 5194-4:1989
For the specifications of instruments with pivot points.
BS 5194-3:1995
For the specifications of dissecting forceps.
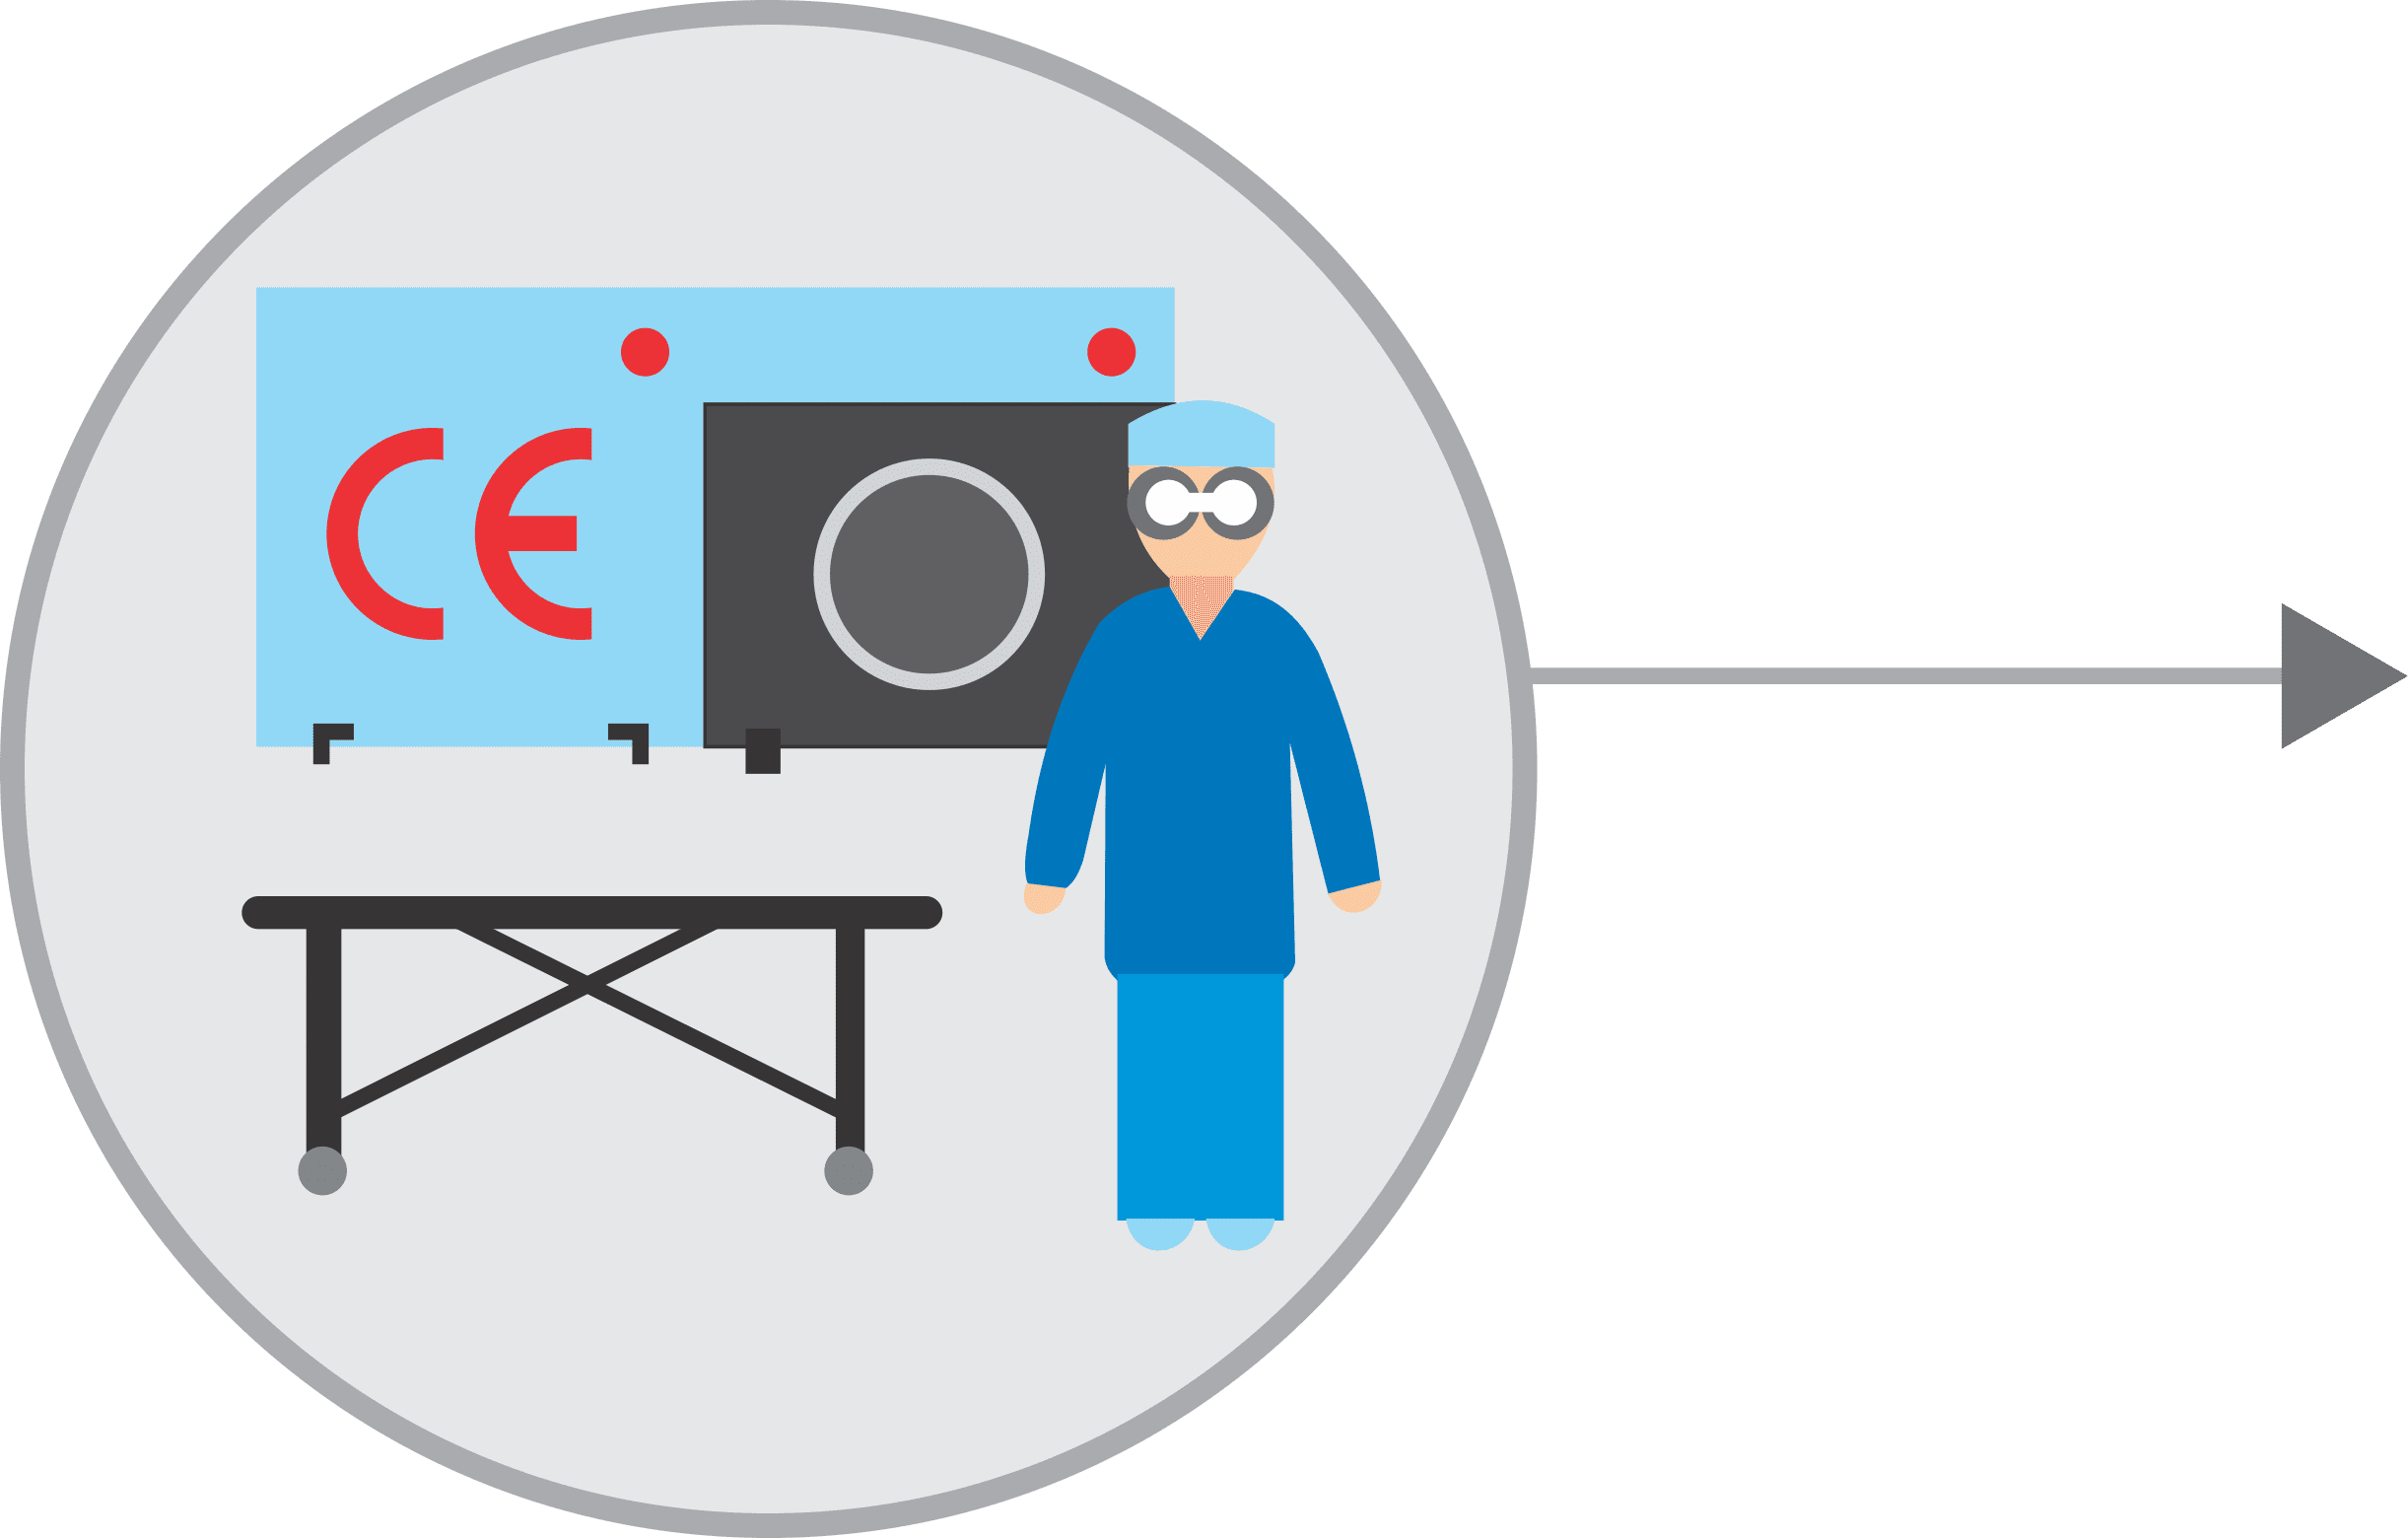
CE Marking
On every device, look for a CE mark, the name of the manufacturer and a traceability code. Be awae that a CE mark is a sign of compliance with MDD however and should not be taken as an automatic sign of quality.
Understanding Quality Know Your Materials
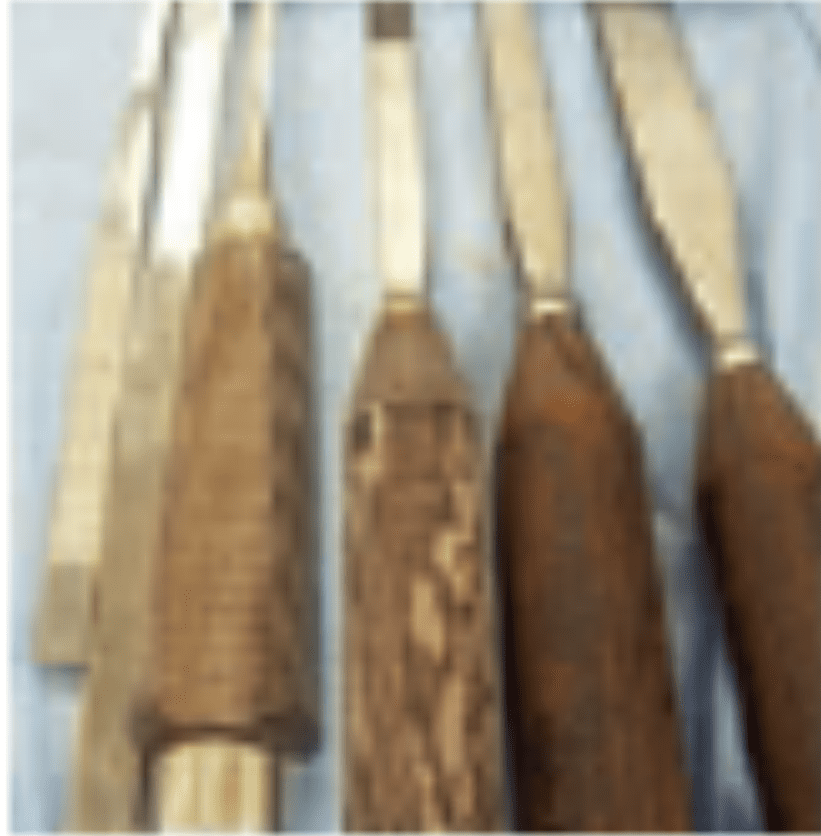
Most surgical instruments start life asforgings “blanks”. They are governed by two international Standards for material specification : DIN 17442 and DIN EN 10088-3 8/95.
Surgical instruments are mainly made from two types of stainless steel: martensitic and austenitic. Some are made from titanium. The boxes on the right illustrate the types of instrument materials.
Martensitic is magnetic and contains up to 1% carbon which allows the instrument to be heat-treated
Austenitic is the most common type of stainless steel and is highly versatile
ISO 7153-1 has a full list of the suitable grades of stainless steel available.
Martensitic Grade B-420 S29
Used for non-cutting instruments, e.g. artery forceps
Hardness 40-48 HRC
Carbon content 0.16-0.25%
Chromium content 12-14%
Martensitic Grade C or D-420 S45
Used for cutting instruments, e.g. scissors & gouges
Hardness 50-58 HRC
Carbon content 0.35-0.45%
Chromium content 12-14%
Austenitic Grade 304 S15
Used for instruments which do not require harding, e.g. dental tweezers and holloware
Hardness 40-48 HRC
Carbon content 0.07-0.15%
Chromium content 16-19%
Nickel content 8-11%
Titanium
Used for Ophthalmic & Microsurgery Instruments
Ti-61I-4V ELI or grade 23 titanium
MANUFACTURING PROCESSES


Common Features and Terminology For Quality Instruments
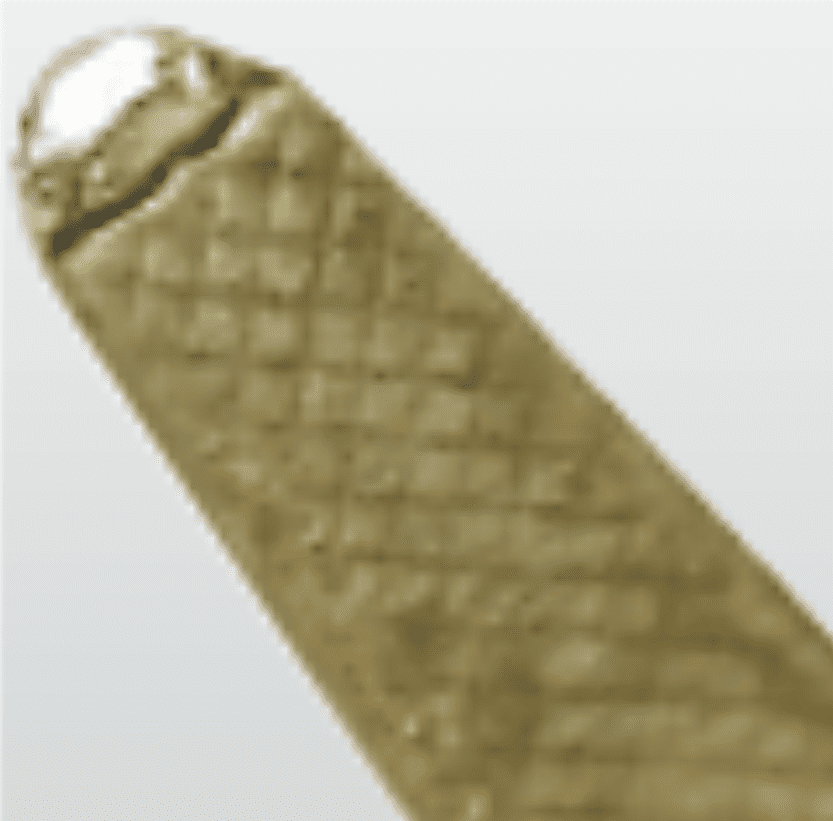
There are a huge variety of features which appear on reusable surgical instruments. Here are a few common featured and what to look for in a quality item:
- Teeth and prongs should be sharp and mesh exactly when jaws close.
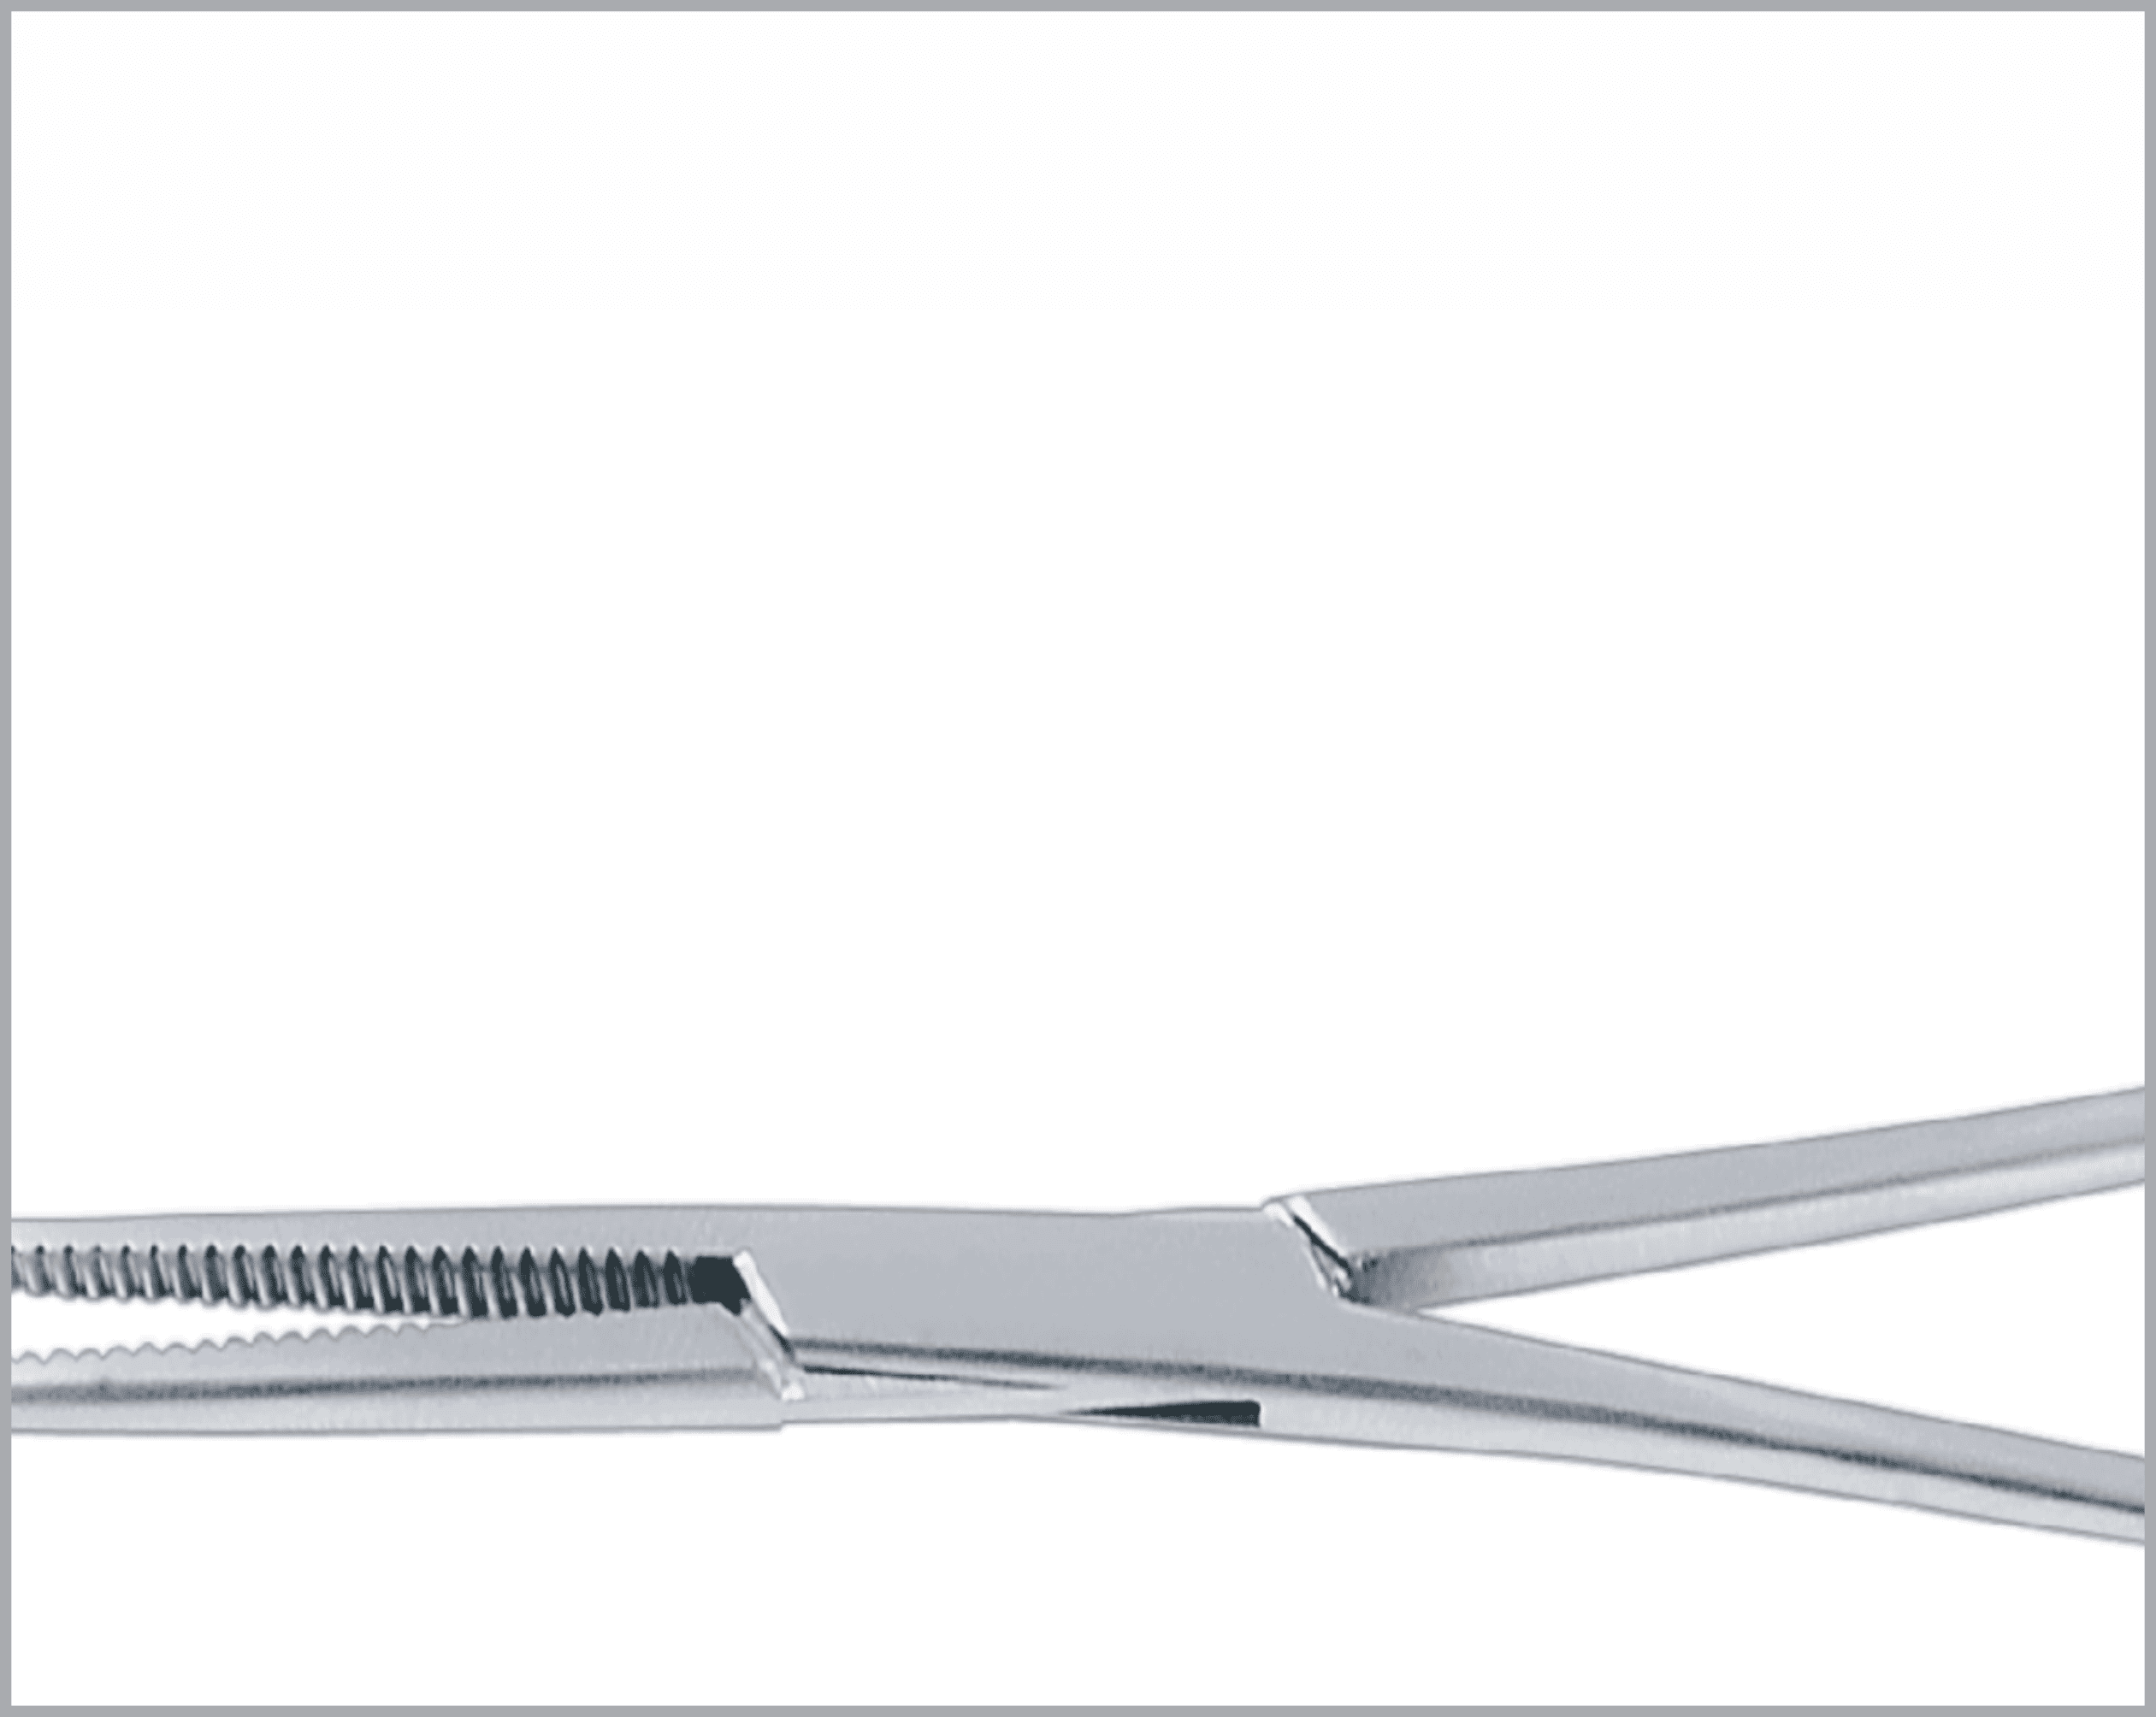
- Serrations on both jaws should be identically shaped and mesh exactly.
- When pressure is released, the teeth, prongs, and serrations should part freely without catching.
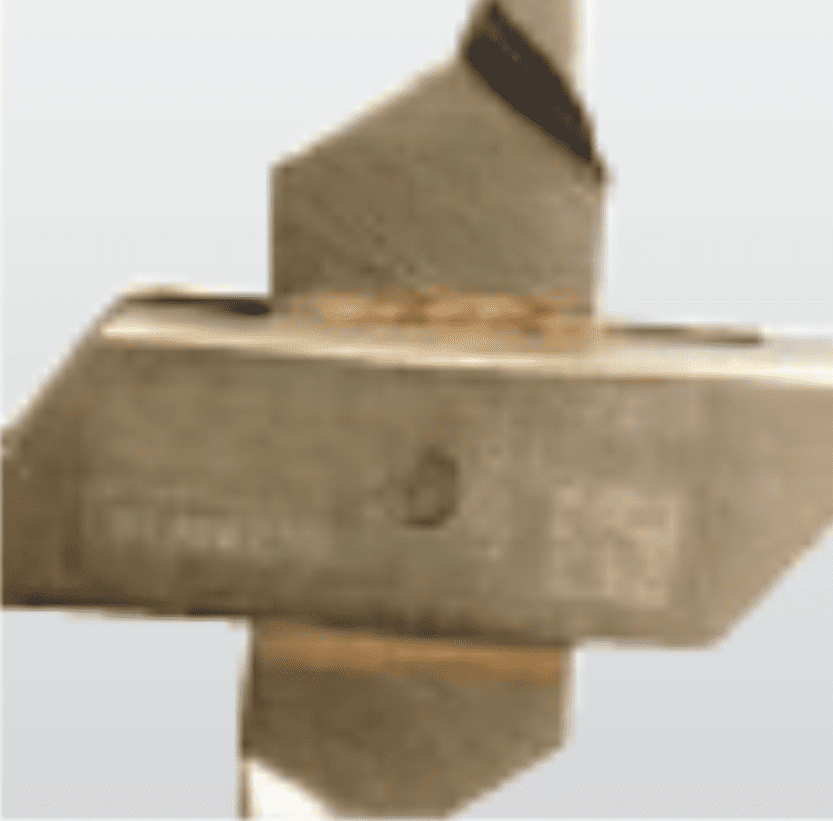
- No slippage in Needle holder jaws.
- Should be symmetrical
- Rectangular section should give maximum strength to the joint.
- Should avoid unnecessary gaps.
- Use of countersink prevents rivet from moving.
- Joint should move smoothly, not too tight, not too loose.
- It should be possible to open and close the joint easily with 2 fingers.
- Should mate accurately when engaged to achieve a positive lock that will not become disengaged in use.
- Ratchet steps should not impair strength of the shanks.
- Ratchet thickness should be the same as the shank.
- Angles should be uniform.
- Leading surfaces should be flat for a smooth and gradual ride.
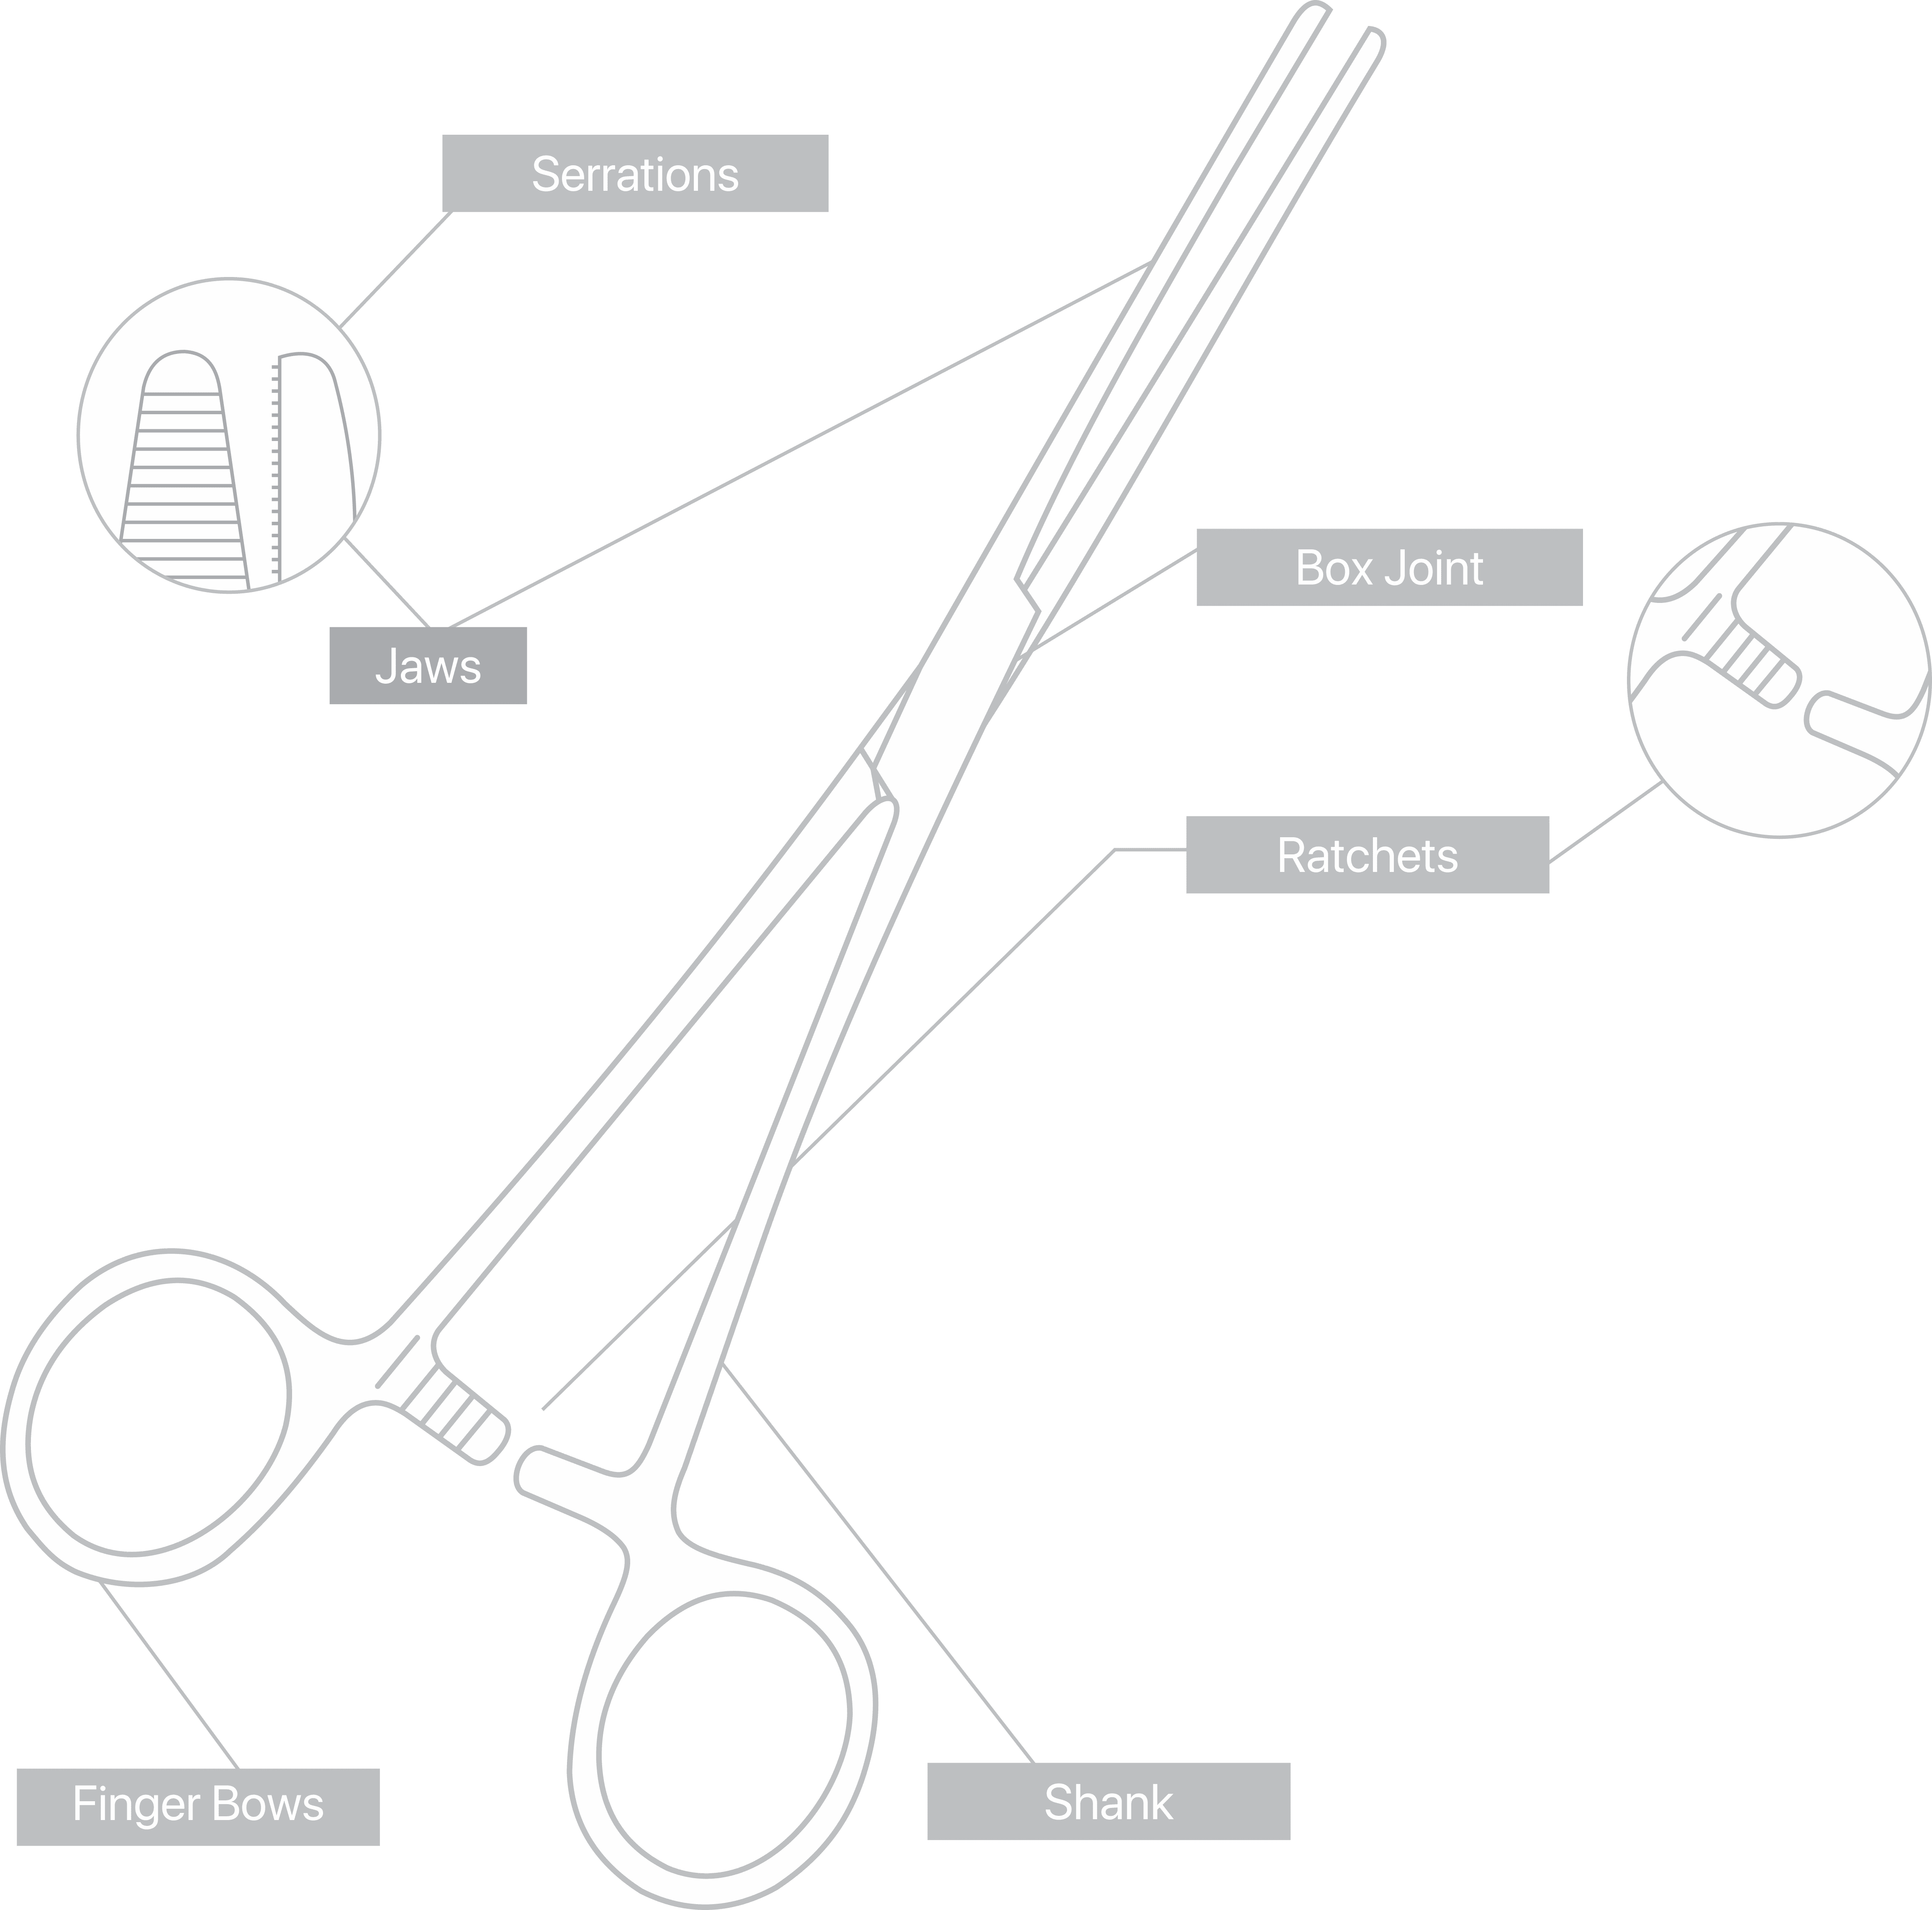
Identifying Common Instrument Features
& Where They May Be Seen
Box Joint
Found on:
- Spencer Wells artery forceps
- Halstead Mosquito artery forceps
- Crile artery forceps
Screw Joint
Found on:
- Mayo scissors
- Metzenbaum Scissors
- McIndoe scissors
- Stevens scissors
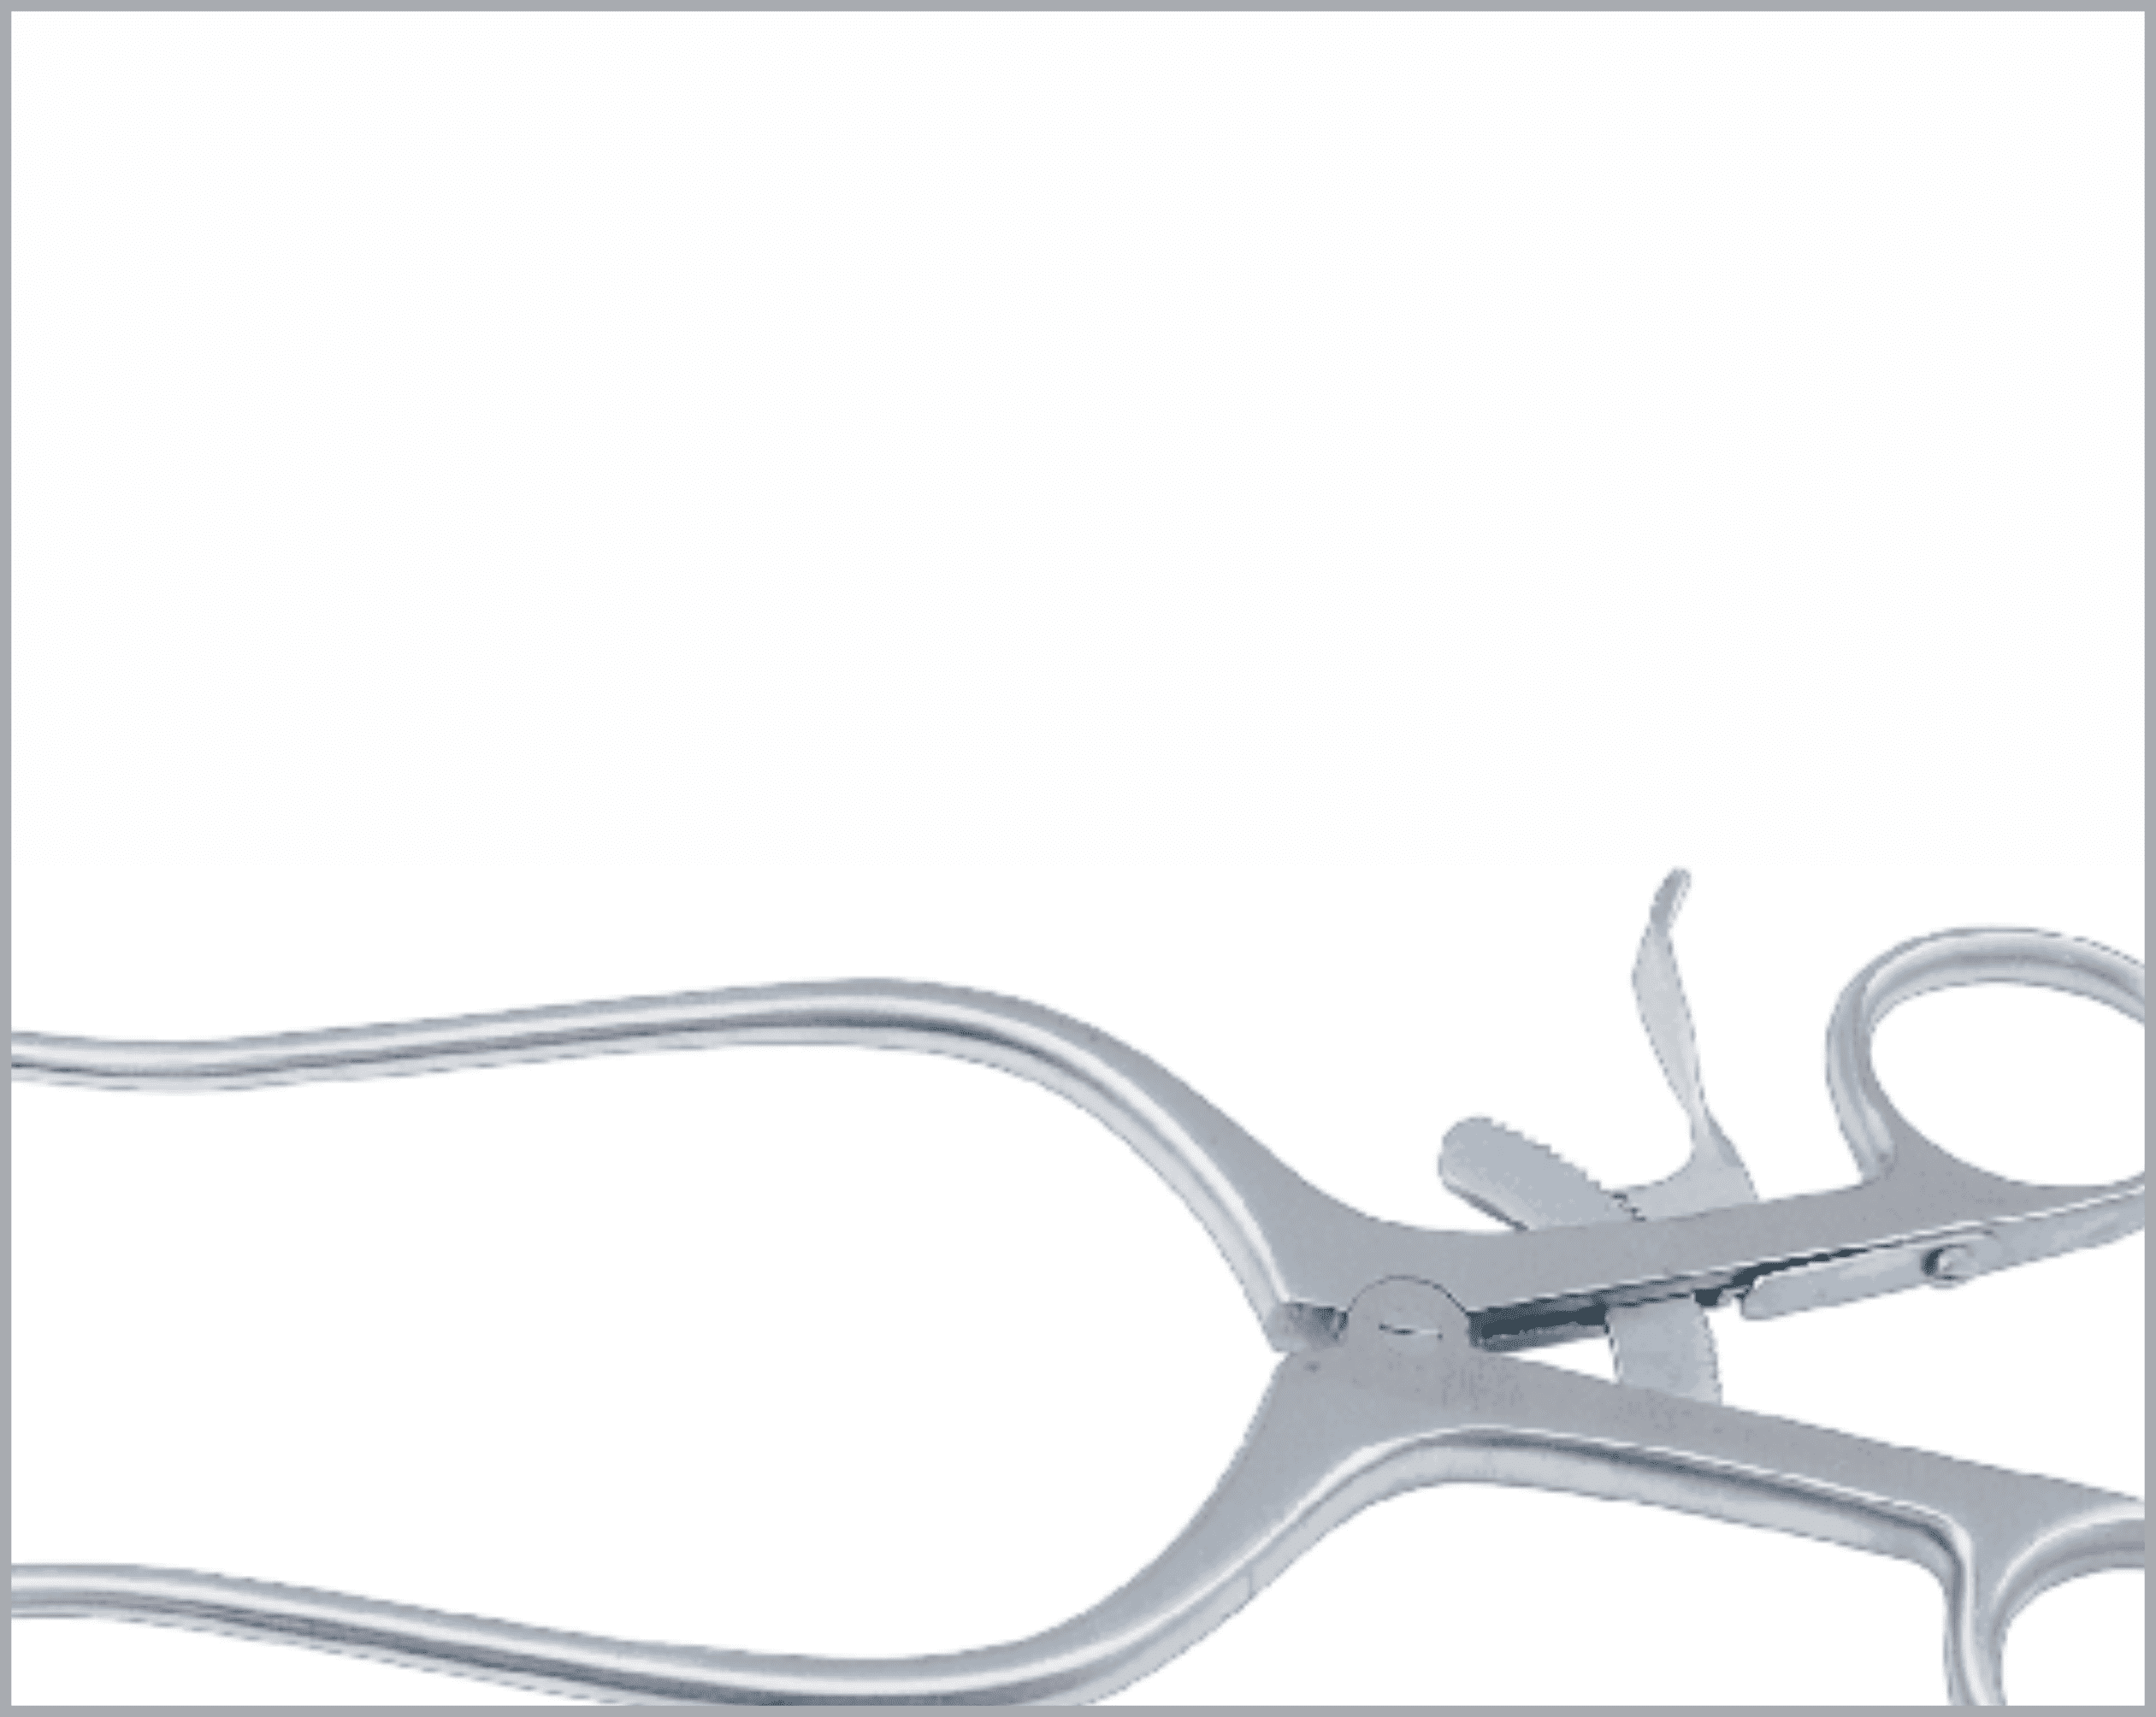
Ratchet
Found on:
- Norfolk and Norwich retractors
- Travers retractors
- West and Weitlander
retractors
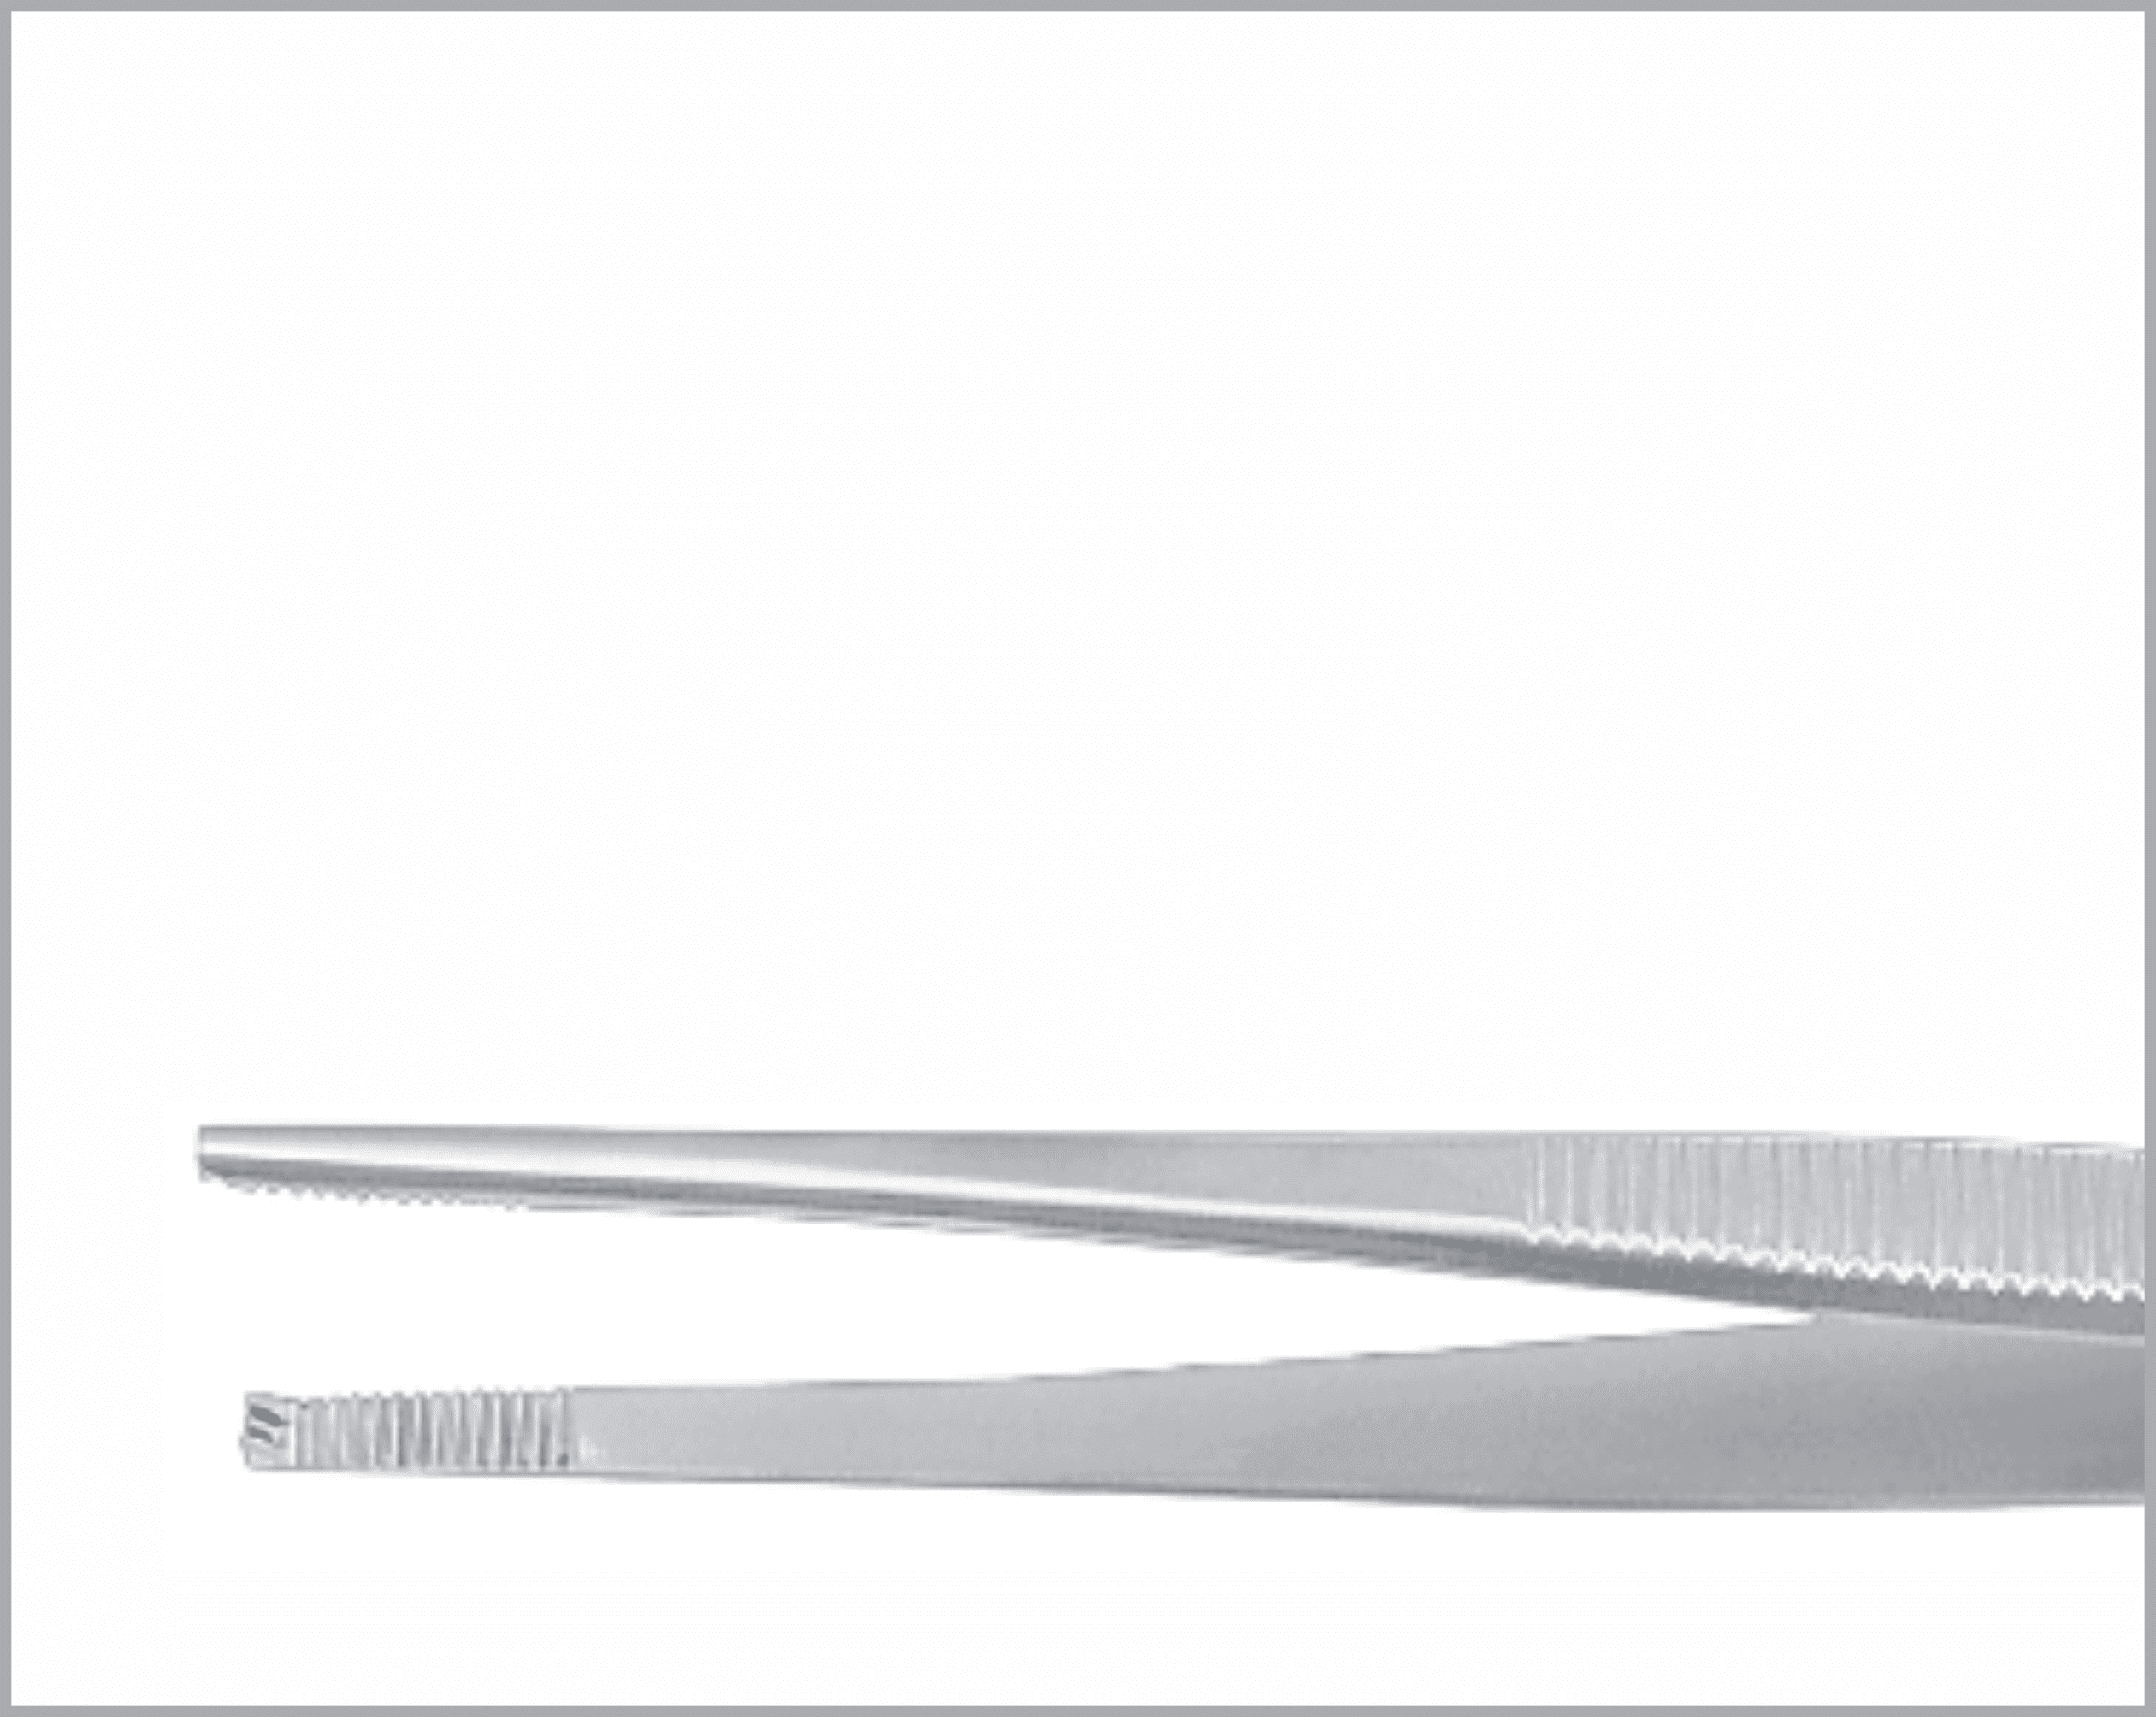
Teeth
Found on:
- Litttlewoods tissue foceps
- Allis tissue tissue forceps
- Lanes tissue forceps
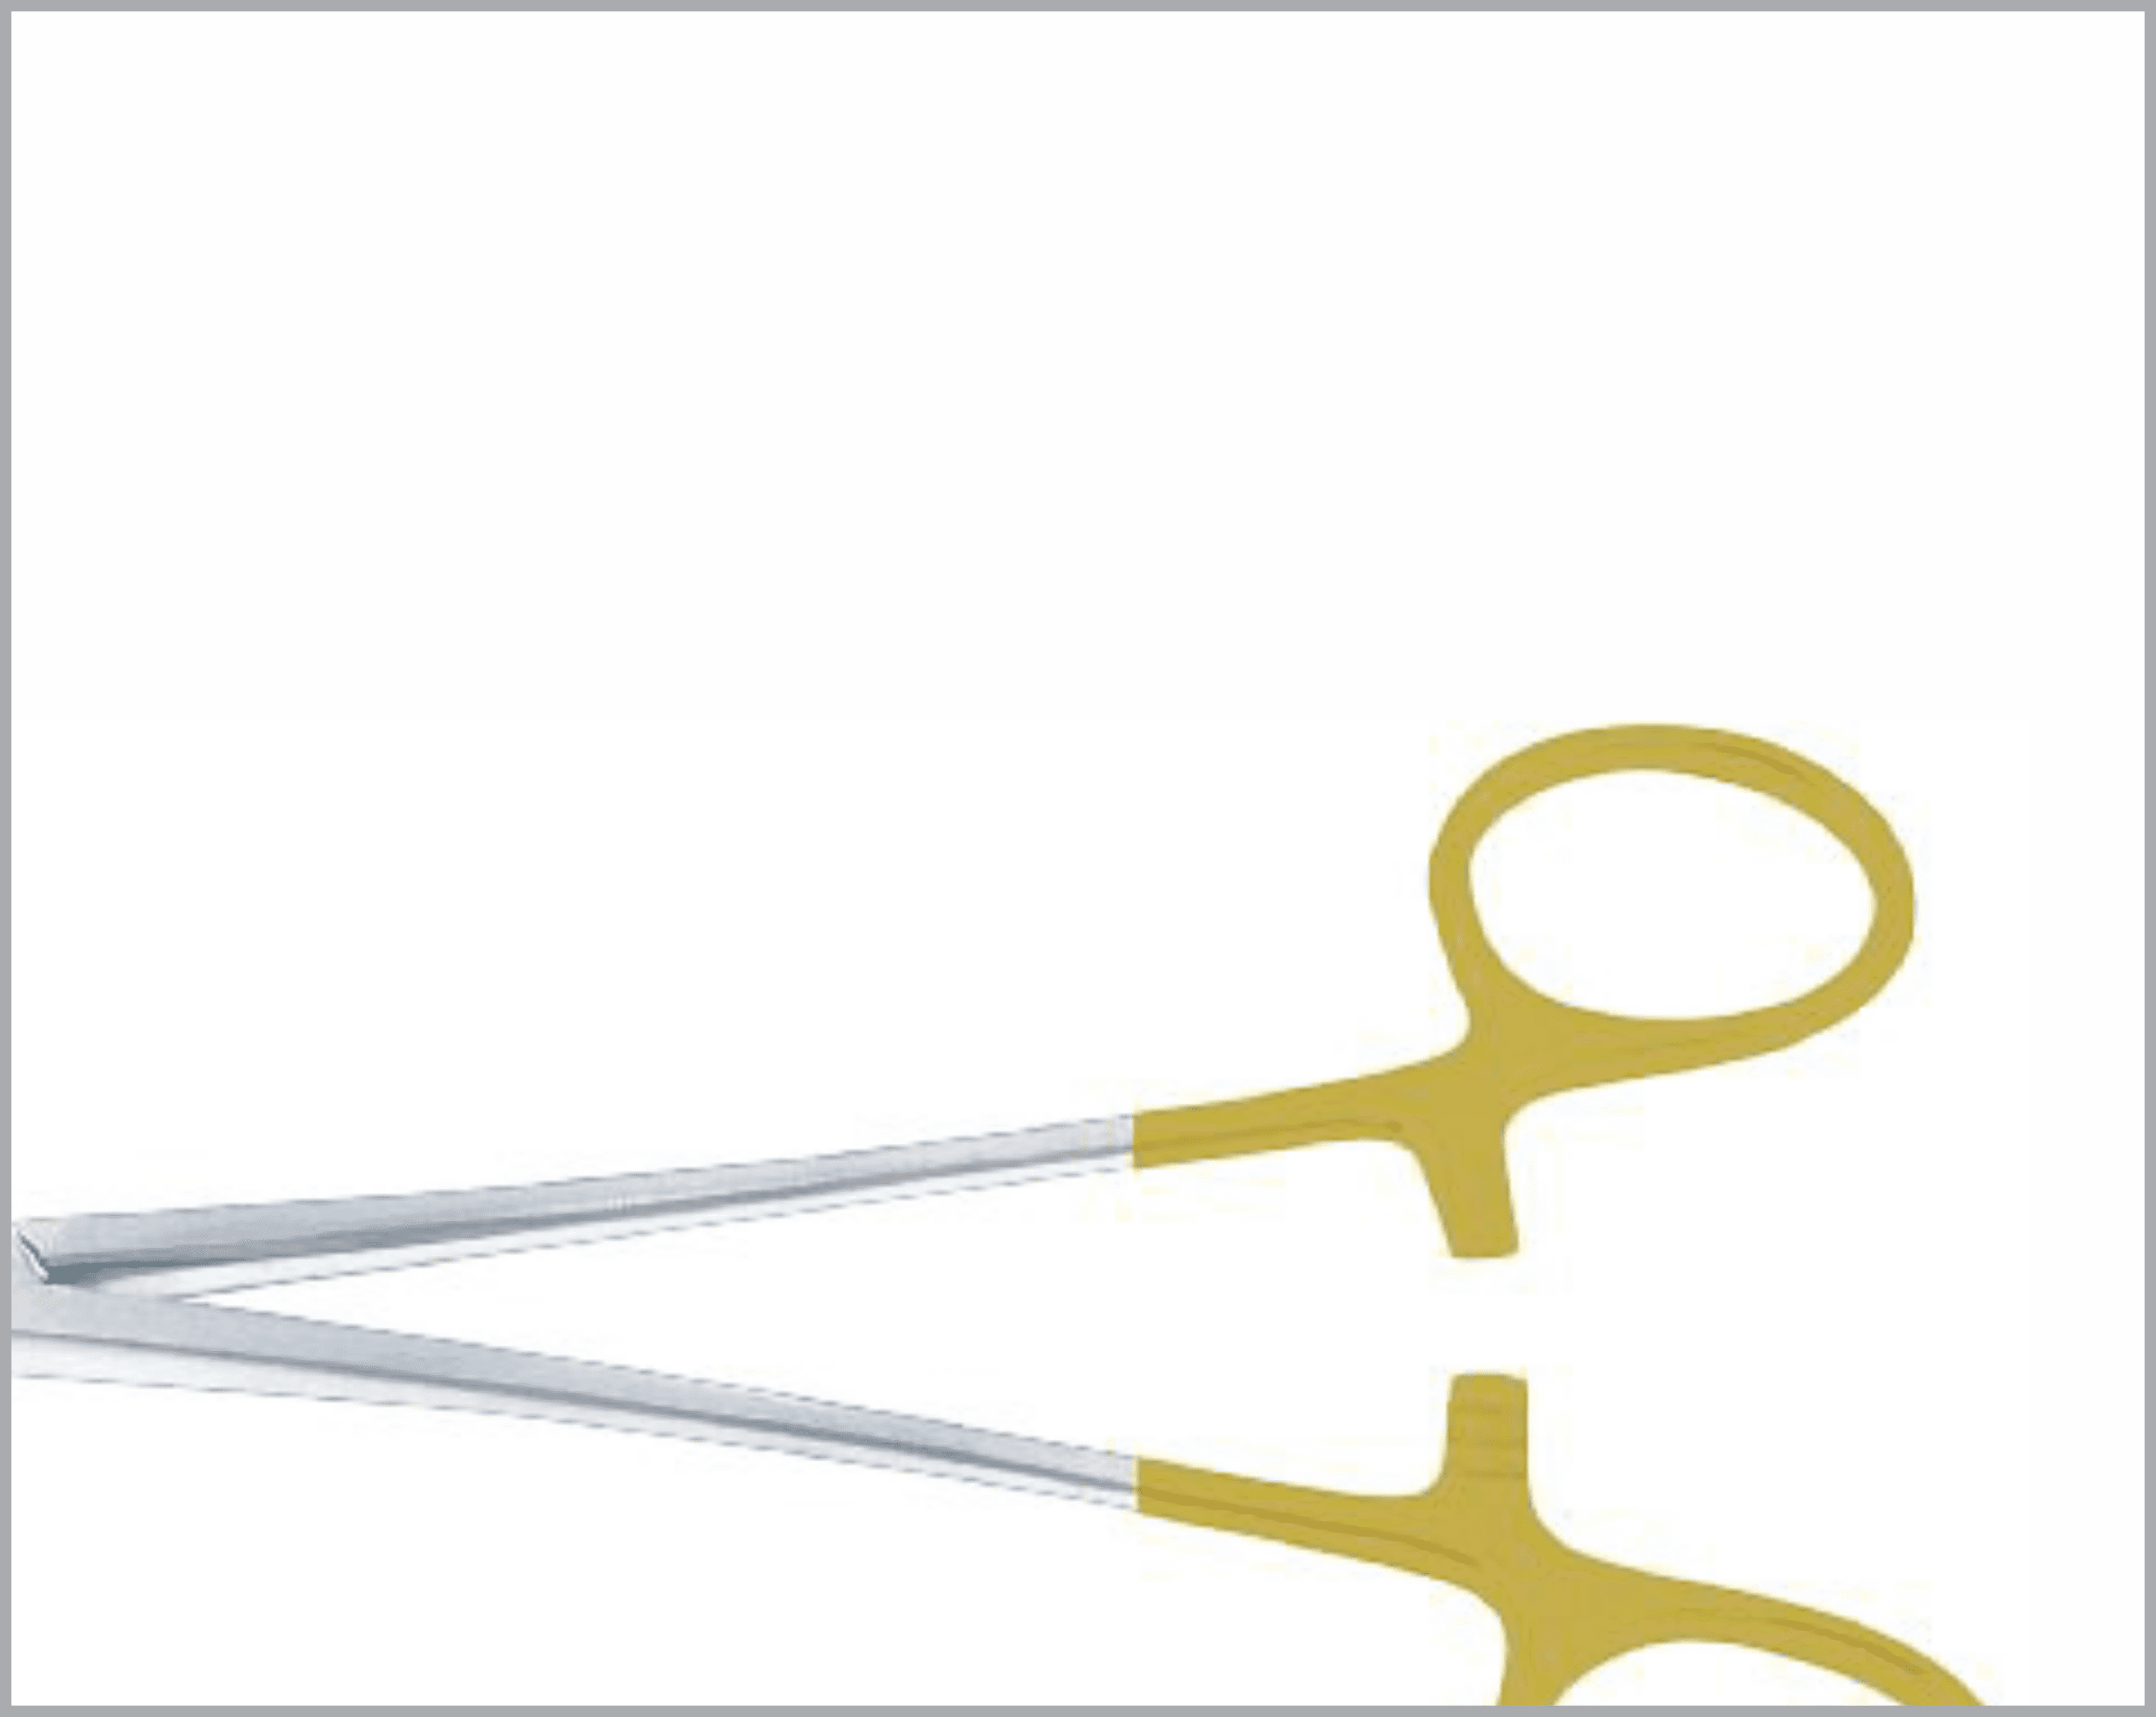
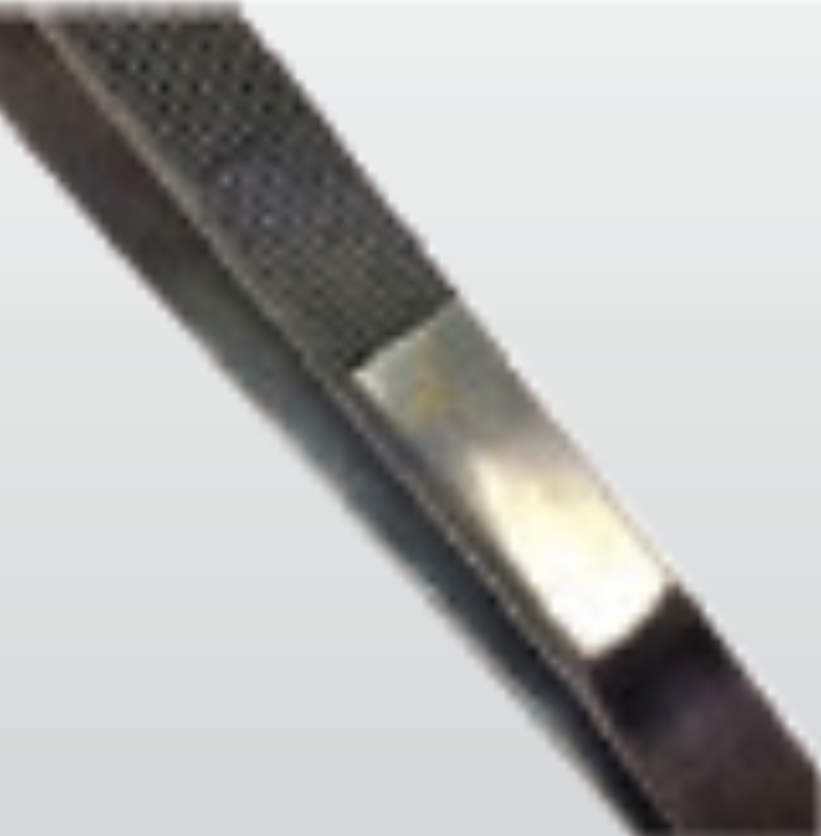
Rack
Found on:
- Mayo-Hegar
- Needle holder
- Spencer wells
- Artery Forceps
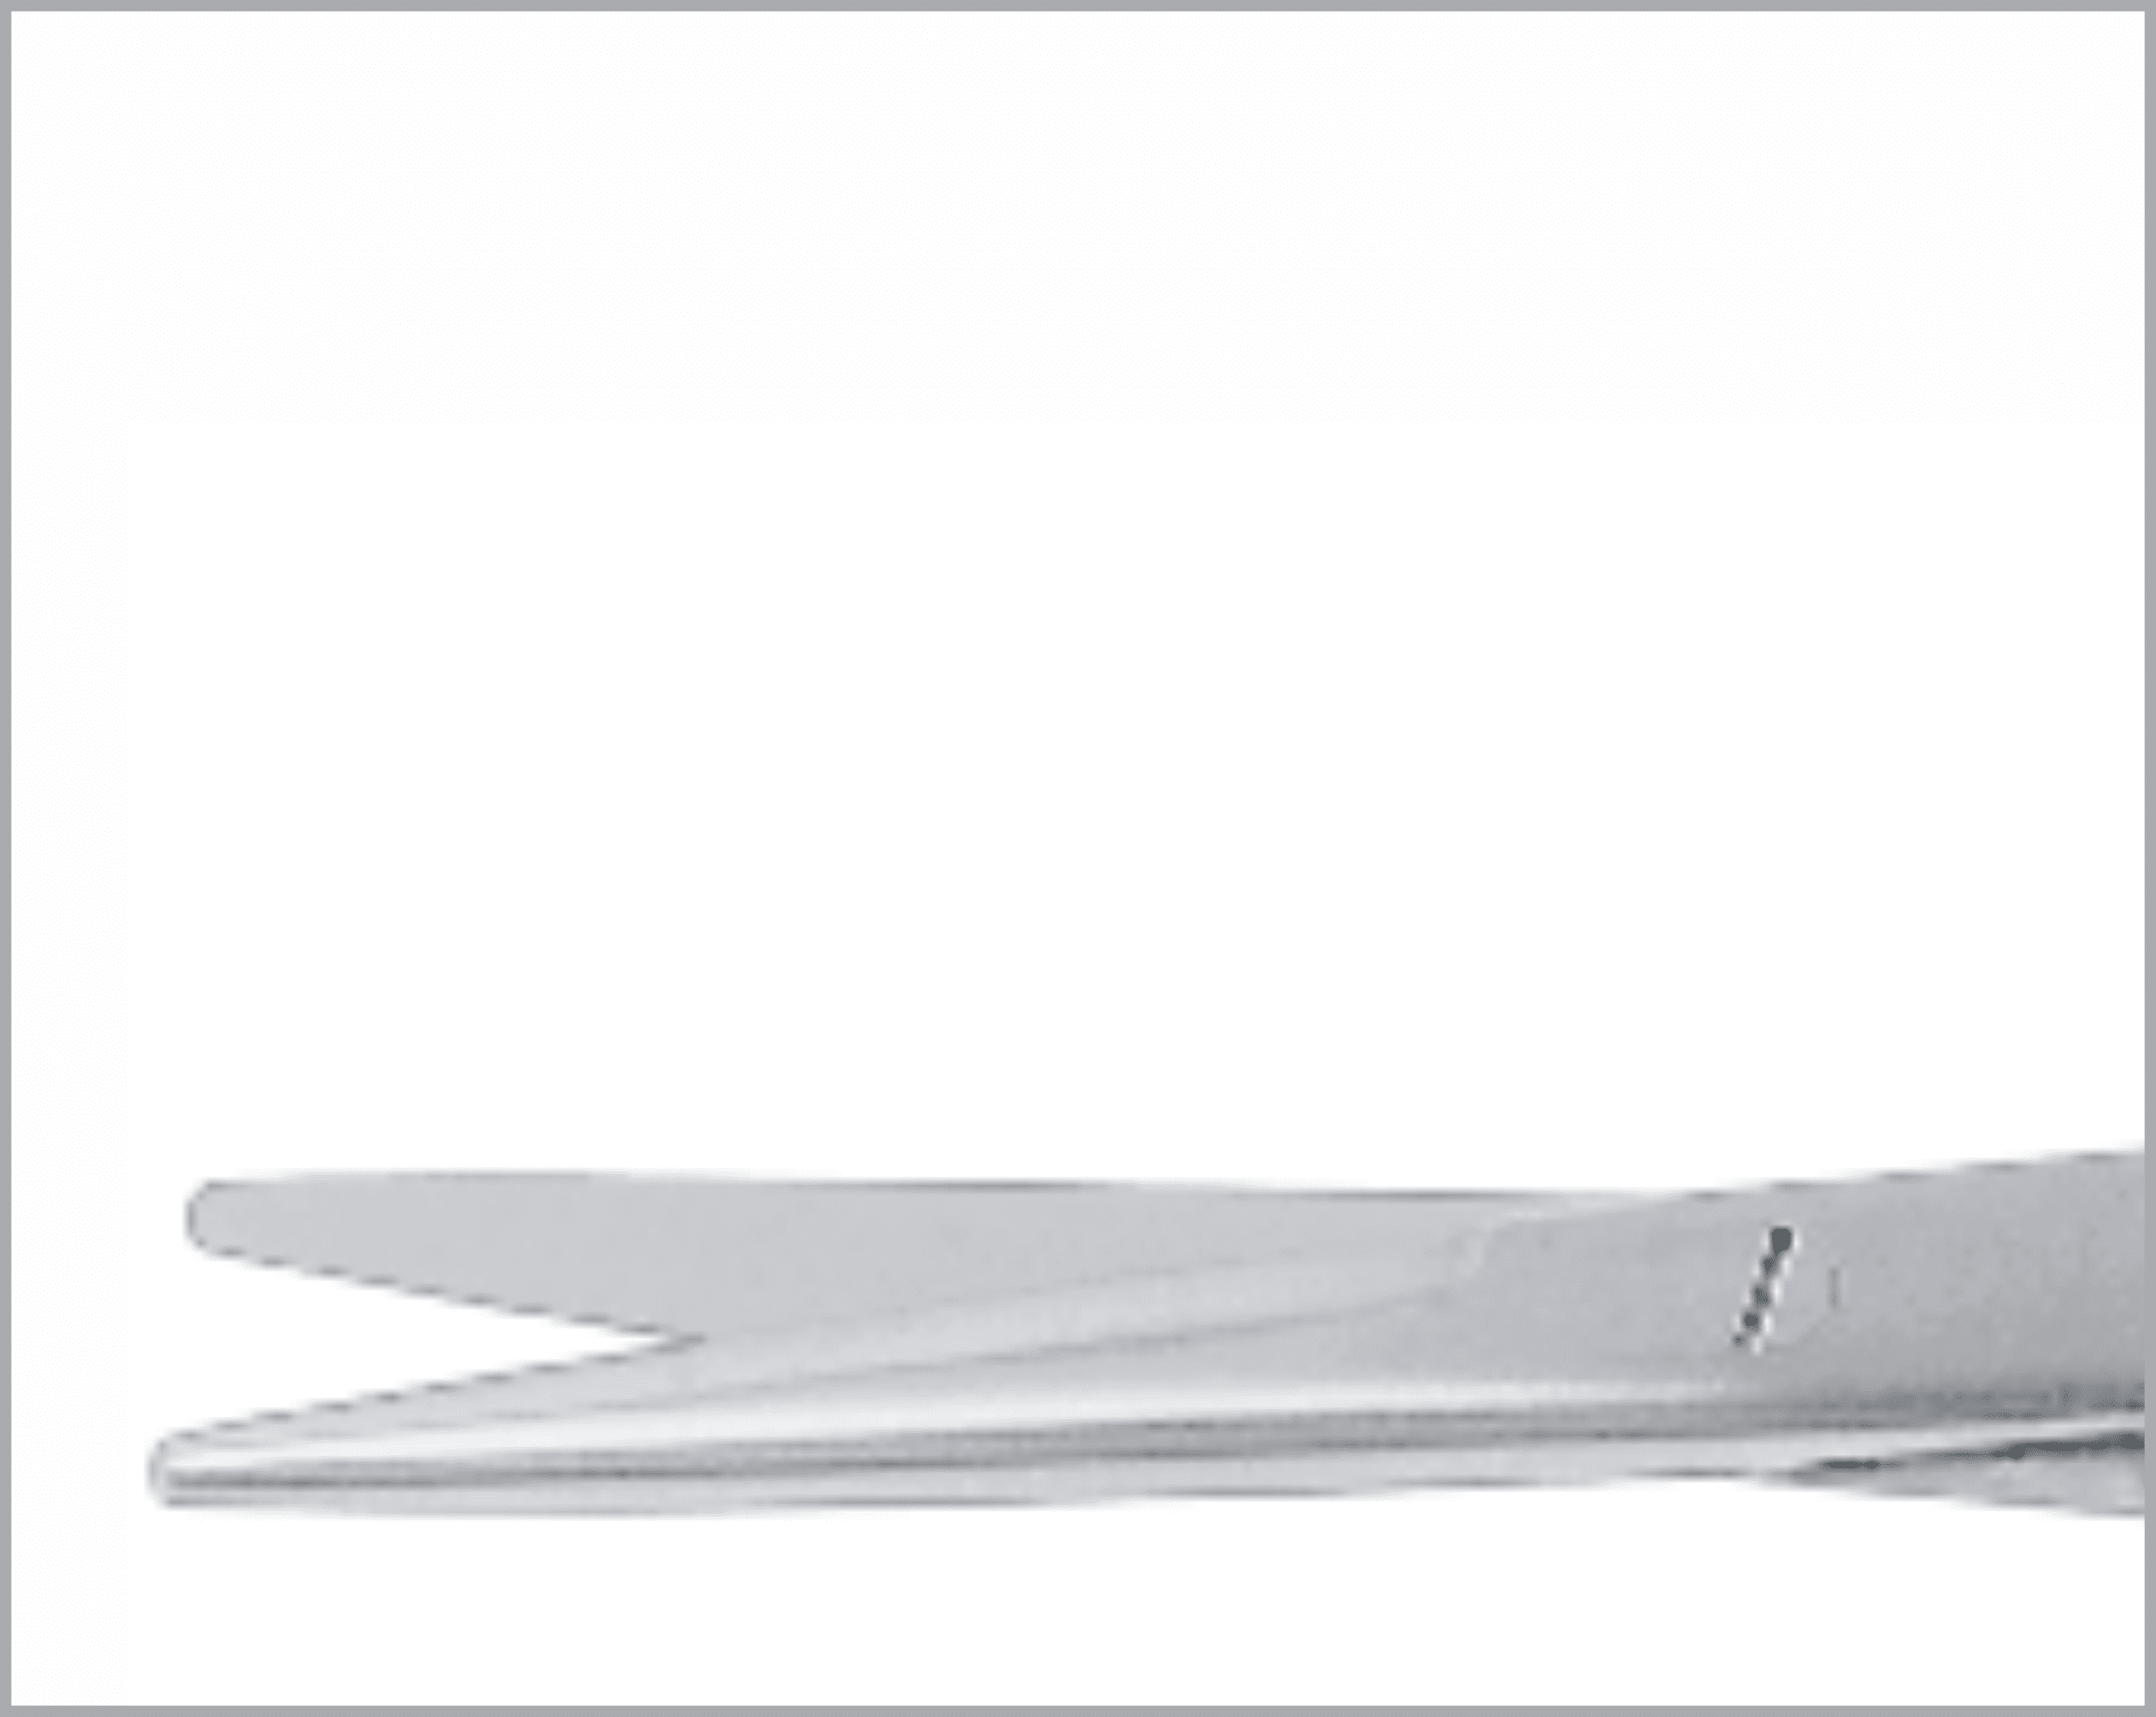
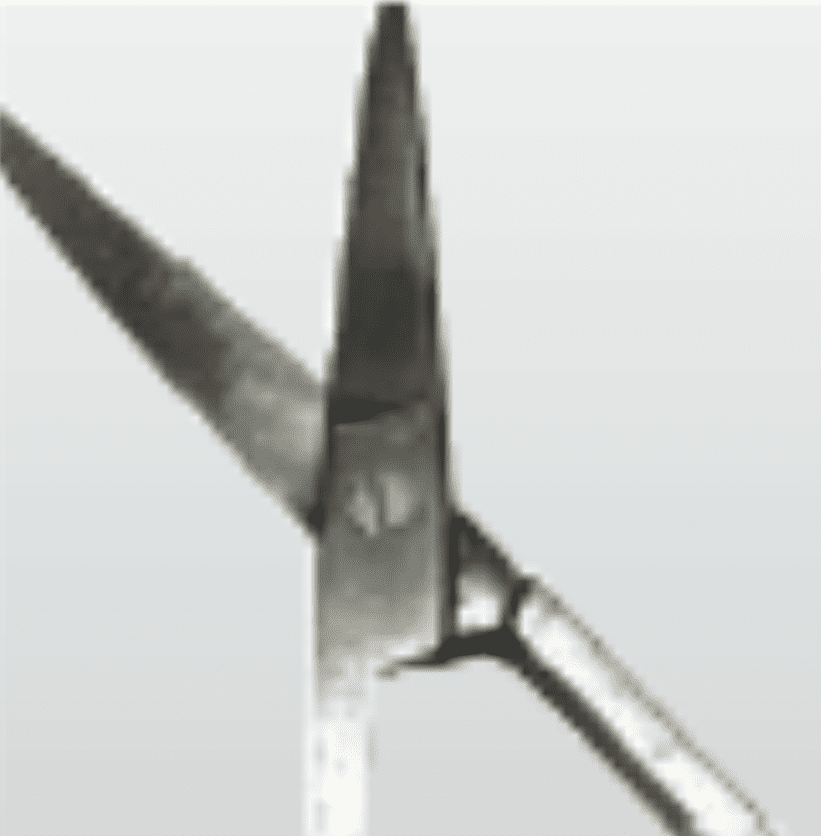
Scissor Blades
Found on:
- Mayo scissors
- Metzenbaum scissors
- Dressing scissors
Box Joint
Found on:
- Spencer Wells artery forceps
- Halstead Mosquito artery forceps
- Crile artery forceps
Box Joint
Found on:
- Spencer Wells artery forceps
- Halstead Mosquito artery forceps
- Crile artery forceps
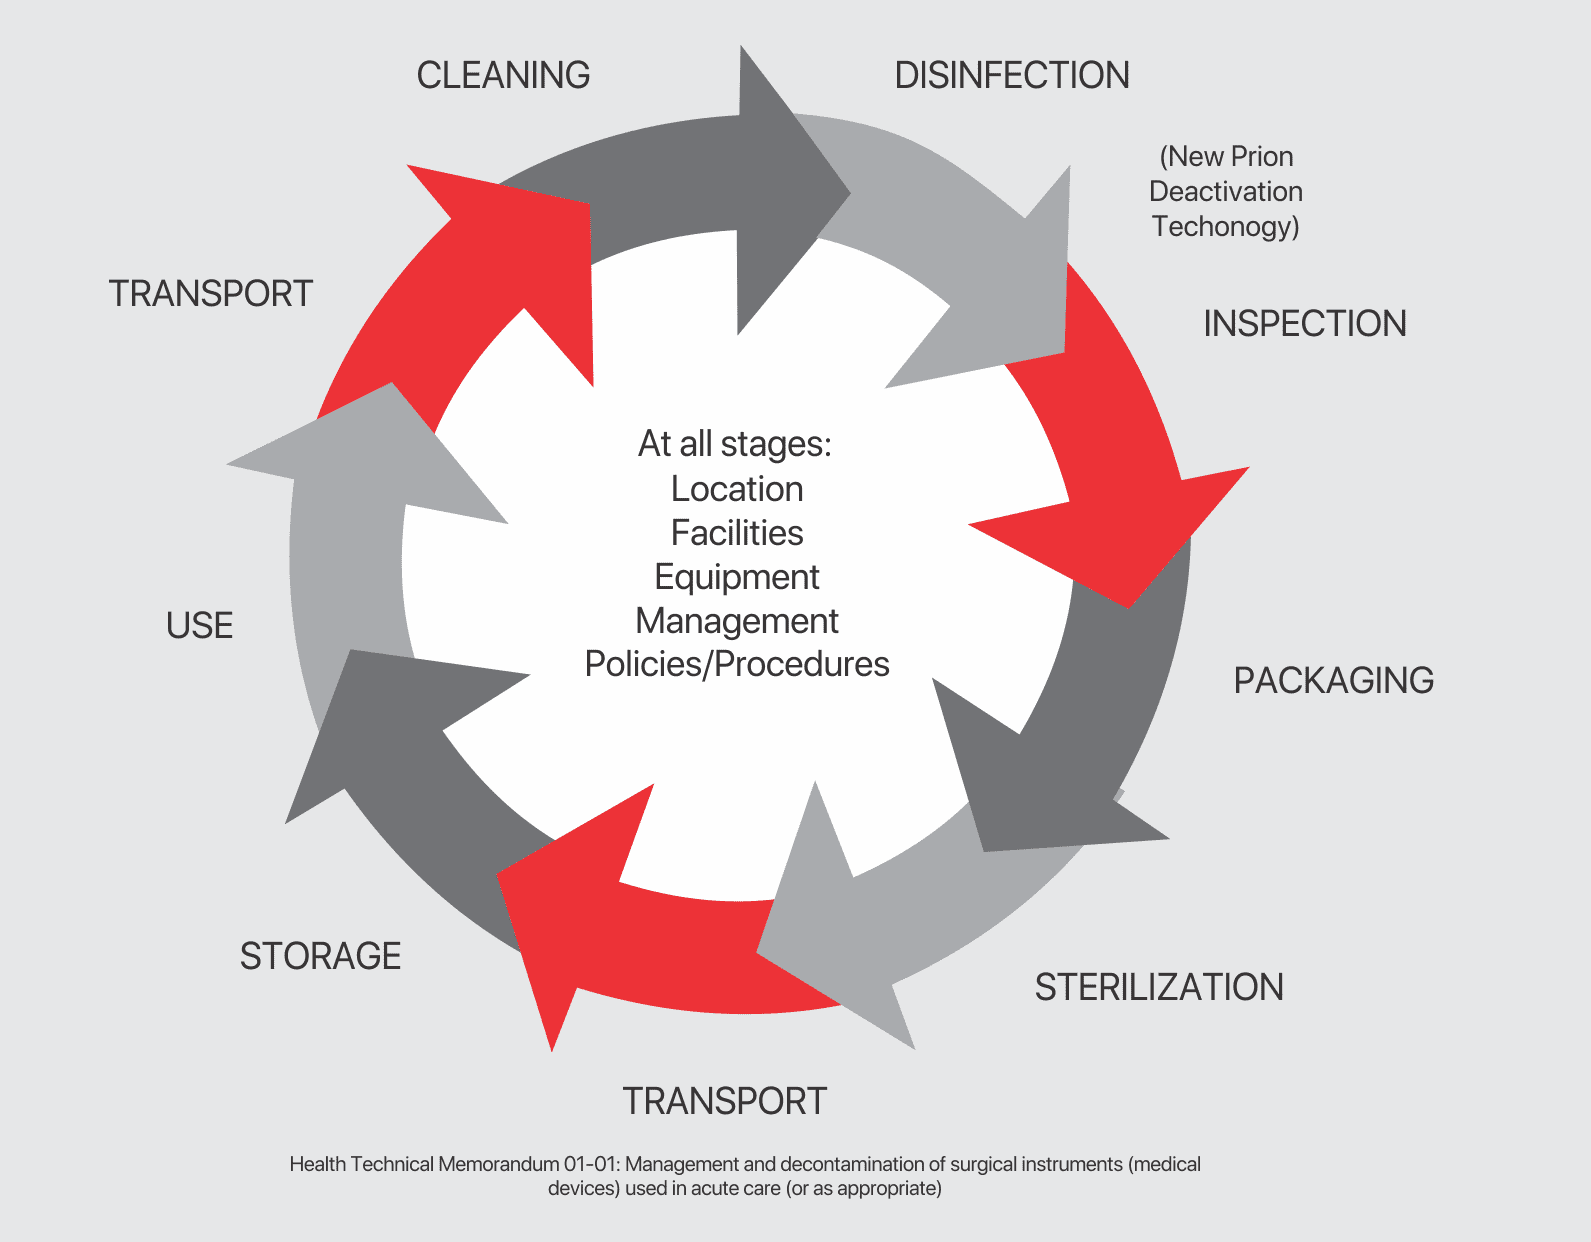
Maintaining High Quality
A Guide to Reprocessing Re-Usable Surgical Instruments
FROM POINT OF USE
Wherever possible, do not allow blood, debris or bodily fluids to dry on instruments. To prolong their life, reprocess immediately after use. If thatʼs not possible, use an enzymatic foam spray to help prevent soil from drying.
PREPARATION
To prepare for decontamination, reprocess all instruments as soon as practicable following use. Disassemble only where intended, without the use of tools, unless specifically made available with the instruments and provided by the manufacturer.
CLEANING
Automated Cleaning Use CE marked or validated washer-disinfector machines and lowfoaing, non-ionising cleaning agents and detergents. Follow the manufacturersʼ instructions for use, warnings, concentrations, and recommended cycles.
- Load instruments carefully, with box joints and hinges open, and so that any fenestrations can drain.
- Place heavy instruments with care in the bottom of containers. Do not overload wash baskets.
- Place instruments with concave surfaces facing down to prevent pooling of water.
- Use appropriate attachments to flush in side reamer, and devices with lumens or cannula.
- Ensure that soft, high purity water which is controlled for bacterial endotoxins is used in the final rinse stage.
Note
Automated Cleaning may not be suitable for all lumens and cannula, in which case clean manually with a water jet gun, if available, and an appropriate brush and/or stllette that reaches the depth of the features.
After manually cleaning, pass all devices through an automatic cleaning cycle to achieve disinfection.
Important Note:
This is not comprehensive. For a full, validated reprocessing guide, speak
to your instrument supplier and follow current MHRA guidlines for reprocessing instruments.

FROM POINT OF USE
After cleaning, visually inspect all
- Surfaces
- Ractchets
- Cannulations
- Holes
- Joints
Lumens for complete removal of soil and fluids. If any soil or fluid is still visible, return the instrument for repeat decontamination.
PACKAGING & STERILISATION
Ensure that instruments are dry before sterilisation.
Always follow the instructions of the machine manufacturer.
Use a CE marked or validate vacuum autoclave operating at 134-137oc 2.25 bar for 3 minutes minimum holding time
When sterilising multiple instruments in one cycle, always make sure that the stated maximum load is not exceeded.


STORAGE
All instruments to be packed following local protocol in accordance with BS standards.
“Maintaining High Quality Care & Maintenance Tips”
For full guidance see www.a-k-i.org ‘Red Brochureʼ or Surtex Instruments FAQ
Broken/Cracked Box Joints
Tension stress
Heating and cooling in sterilisation process
SolutionClose instrument to first notch only during sterilisation

Forced stress
Overloading instruments
SolutionEnsure correct device and attachment is being used NB: Also sutures and needle holders
General stress
Build up of blood and debris in box joint
SolutionEnsure instruments are cleaned in open position during washing and disinfection
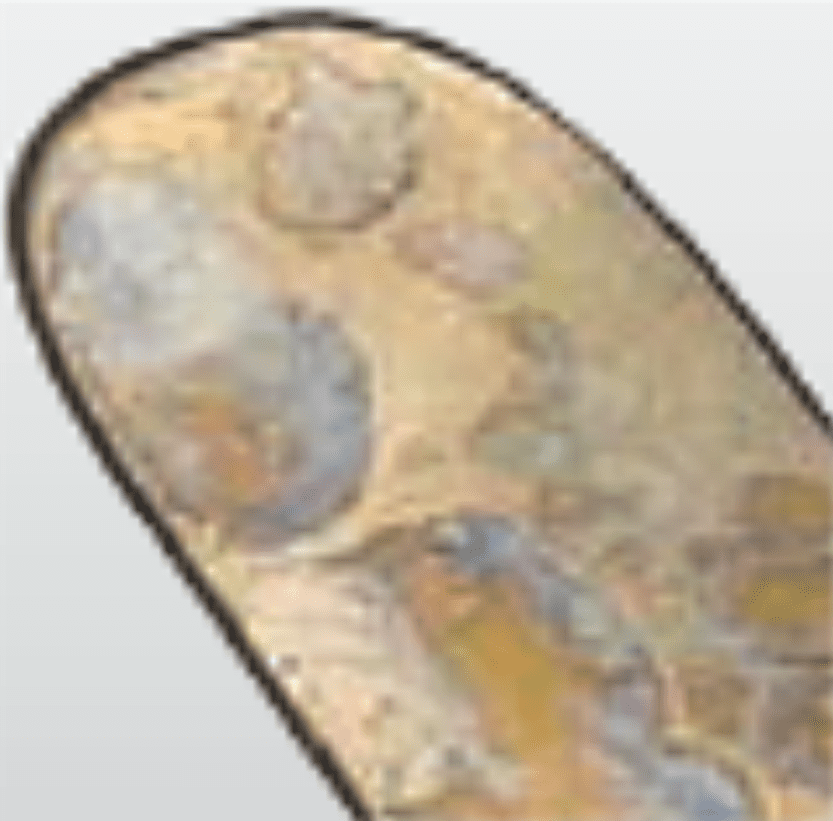
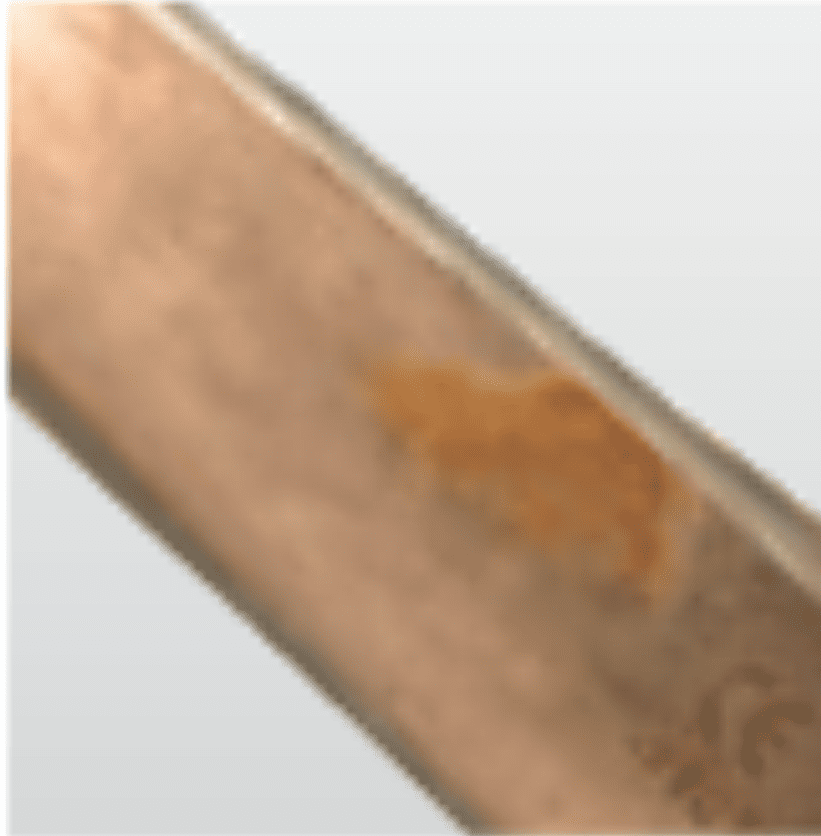
Discolouration
Water Spots Light coloured, often with sharply defined edges
Final rinse or sterilisation water supply contains high concentration of minerals
SolutionUse demineralised water in final rinse, and pure steam in sterilisation

Yellow brown to dard brown spots
Debris has dried on the device before cleaning or hasnʼt been removed due to poorly performing detergents
SolutionRemove by thoroughly scrubbing with a good detergent, otherwise corrosive pitting will occur
Tension stress
Heating and cooling in sterilisation process
SolutionClose instrument to first notch only during sterilisation

Other causes of discolouration
- Insufficient rinsing off detergents and disinfectants
- Chlorides
- Water droplets slowly condensing on isntruments during sterilisation
- Inferior detergent
Corrosion
Pitting corrosion
Excessive chloride concentrations Use demineralised water
SolutionUse demineralised water
Cause 2Prolonged exposure to saline solutions (blood, debris or contaminated disinfectant or detergent) where bacterial activity creates acidic residue
Abrasion corrosion
Build up of debris stops devices fro opening and operating smoothly, causing destruction of passivation layer at joints and crevices
SolutionEnsure instruments are cleaned in open position & lubricate regularly

Contaminated steam corrosion
Rusty steam in sterilisation process
SolutionRegular validation and maintenance of decontamination equipment
Surface corrosion
Damage to passivation layer
SolutionAvoid use of strong acid, alkaline or caustic solutions NB: Aluminium is particularly susceptible
Spreading corrosion
Instruments sterilised with already rusty devices - rustis transferred through the detergent
SolutionSeparate rusty devices from “healthy” ones
The Red Brochure
The Instrument Reprocessing Working Group was set up in 1976. They have produced a Surgical Instrument guidance document for the past 40 years. This provides exhaustive guidance on all aspects of surgical instrument care and best practice. www.a-k-i.org
Ethical Supply
- Ethical Manufacturing & the NHS Supply Chainʼs Labour Standards Assurance System (LSAS)
- ABHI has its own code of business practice and we support the ethical sourcing of products. The Surgical Instruments SIS Group worked with NHS Supply Chain as part of the 2012 (and pending 2017) Surgical Instruments Framework Agreement to launch its Labour Standards Assurance System. LSAS is a matrix of ethical requirements designed by NHS Supply Chain and the Department of Health, through which suppliers are audited and assessed by a third party notified body. The responsibility is with the supplier to ensure there is continual progress and regular risk assessment and review, to mitigate potential ethical and labour risks in the supply chain.
- This has been embedded since 2012 and many of our members have I mproved to obtain level 2 and 3 on the framework.
- ABHI is commited to promoting good ethical practice amongst members, we see this as integral and essential for improving labour standards in both single use and reusable surgery instrument manufacturing.
ABHI Code of Business Practice
At ABHI, we place ethical compliance at the heart of the medical technology industry. Healthcare professionals and patients must feel they can be confident in our ethical standards at all times, so they can work with us to improve the innovations we develop.
We have been working hard for several years to help member and other companies reach the highest standards – both as organisations and as individuals at all levels.
It is a condition of ABHI membership that a company adheres to the ethical standards in the ABHI Code of Business Practice. The Code stipulates minimum standards for membersʼ business practices in the UK, Europe and elsewhere.
More information can be found at
http://www.abhicodeofpractice.org.uk
This document has been produced by members of the ABHI Surgical Instruments Special Interest Section.
Association of British Healthcare Industries
107 Grayʼs Inn Rd, London WC1X 8TZ
http://www.abhi.org.uk